
In Part 8 Pond Construction – Adding Pond Rocks and Constructing Waterfall I talked about my plans for adding rocks to the pond. In this post I am going to talk about the pond bridge. Since the very beginning I planned on having a bridge that went over the pond. It was part of the design of the pond as well. I wanted a bridge because I felt it would add character to the pond and be a spot I could stand or sit on an admire the pond. I looked throughout the internet for examples of ponds I liked. There are all kinds of bridges you can make. Some have railings and others unique ideas. I also looked at some ready made kits for the pond. In the end I decided to make my own bridge. When it comes to making things with wood I’m not very good but I would give it my best shot.
My inspiration came from this photo:
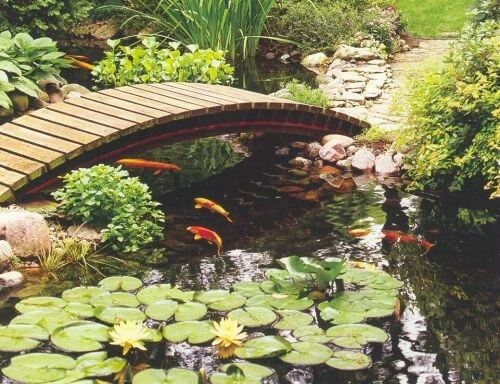
*trying to find source so I can link back
Materials Needed
- Jig saw
- Sawsall
- Miter saw
- Screws
- Drill
- 2 Pieces of pressure treated 2 x 12 x 8
- 7 Pieces of lumber 2 x 4 x 12
- 2 Ground Anchors
- Bolts, Washers and Nuts
- Cabot Australian Timber Oil Wood Stain – Jarrah Brown
- Small wood dowel
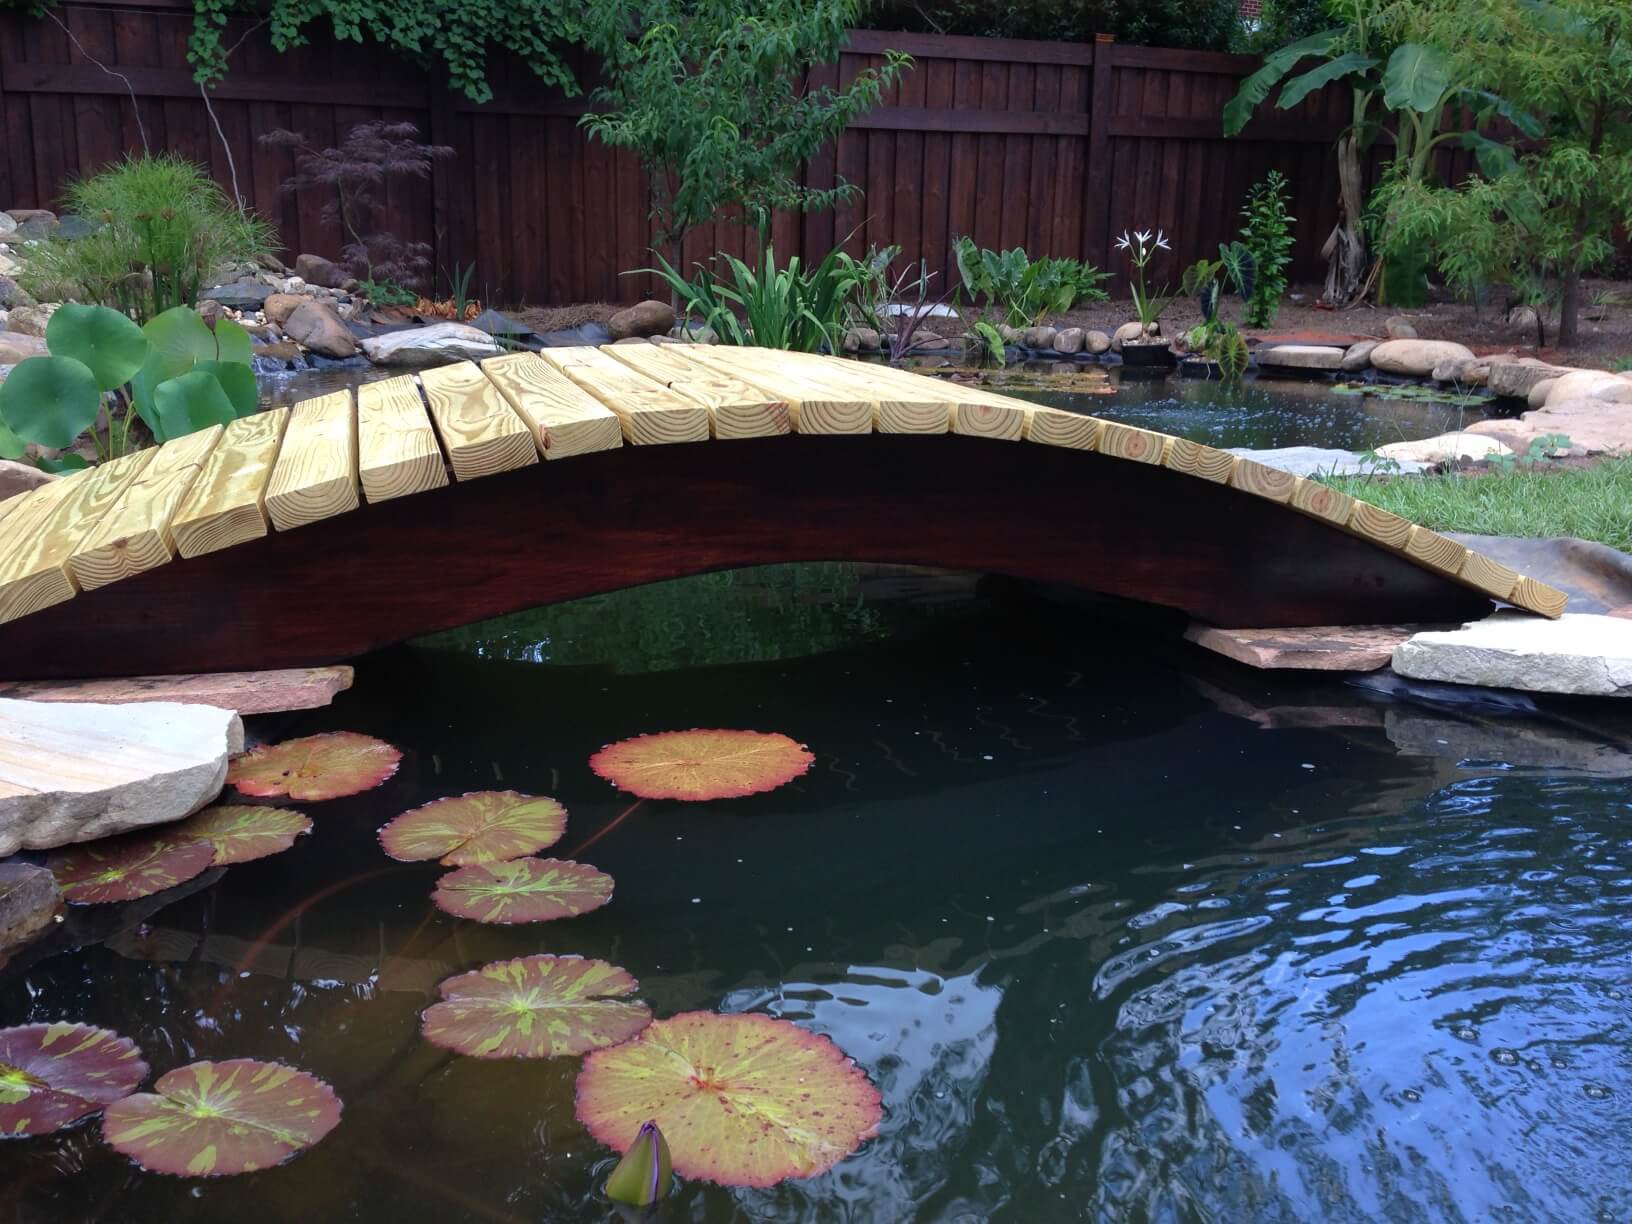
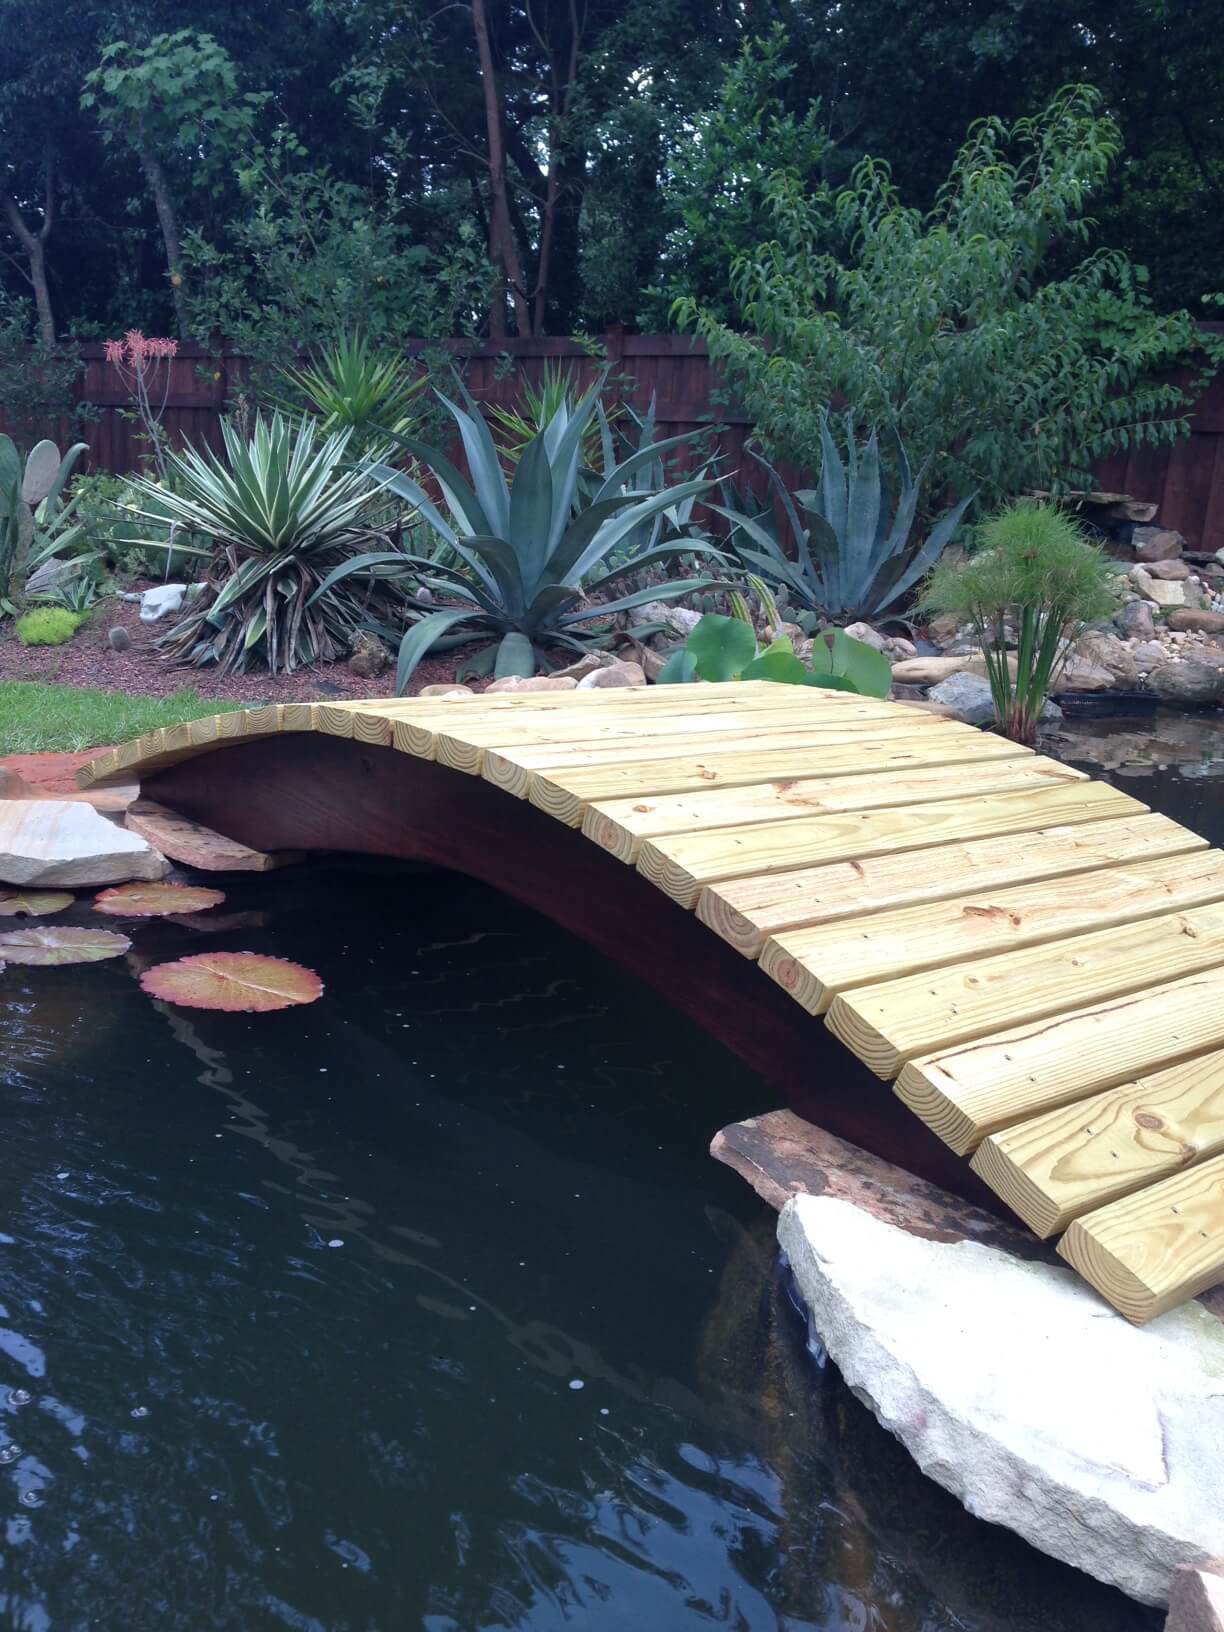
From the picture it was hard to figure out what materials I needed. One of my worries was building the whole bridge out of pressure treated wood and having the chemicals leech into the pond. Cedar was hard to get in the dimensions to make it look like the bridge in the picture. I decided to make the only 2 curved beams out of pressure treated. I took some pvc to draw the curve onto 2x12x8 to make the curved beams. Then I used a jig saw and a sawsall to cut it out. I then sanded it down and stained them. Once that was ready I cut 3 pieces of 2 x 4 to use as a way to build the frame of the bridge. The wood that was going on top was going to be 35″ long. I cut them all the same length and then started putting them on. I used a small dowel to space them. Before I put those on I sealed them with Lumber-Seal Non-Toxic sealer. However I wouldn’t recommend using this sealer. After a year I have warped boards and they just don’t look good. I think I am going to replace them with pressure treated next year.
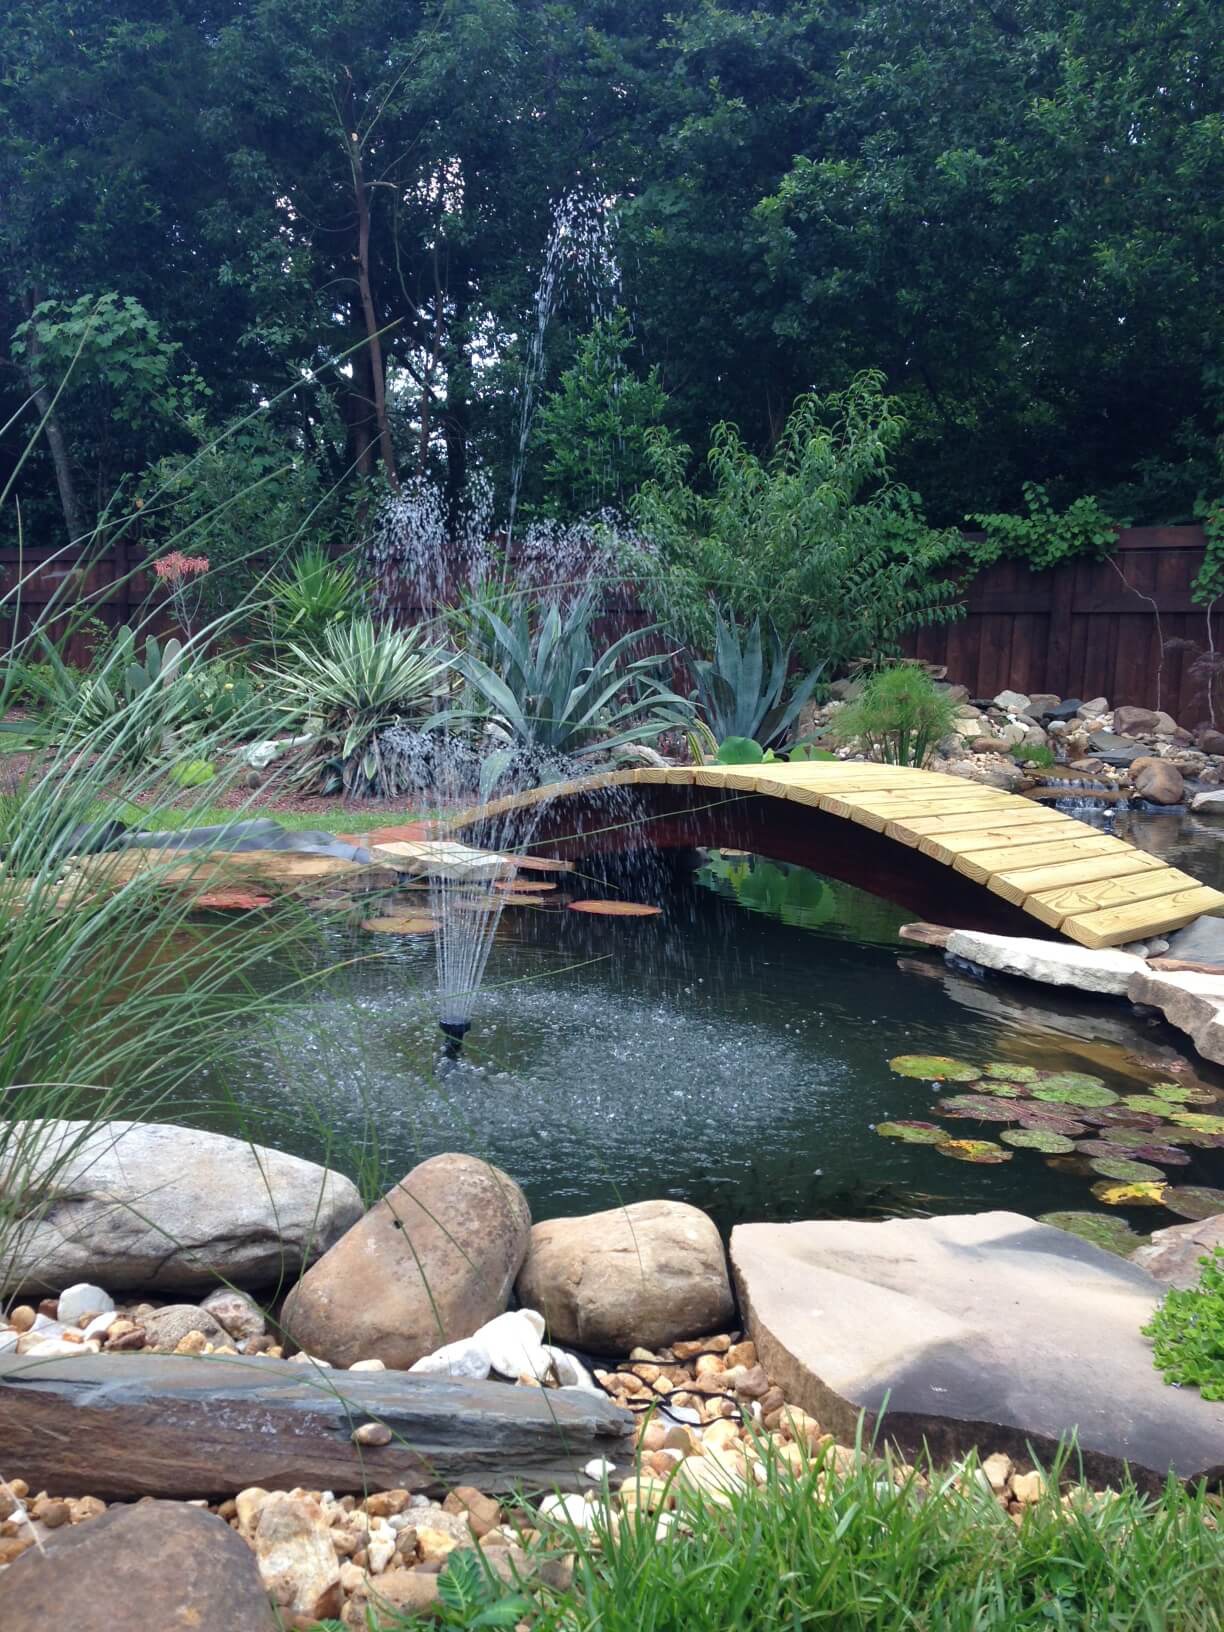
The final installation involved 2 ground anchors. At each end of the bridge under the slats I drilled a ground anchor in deep and then using a bolt I attached it to the bridge. I did this so that storms would not be able to move the bridge.
Next Post: Part 10 Pond Construction – Construction Completed