In Part 2 Pond Construction – Equipment Planning & Choices I talked about equipment planning and choices. In this post I’m going to talk about pond leveling and more digging. If you asked me what the hardest part of building the whole pond it would be leveling the sides.
Materials Used:
- Garden Dump Cart
- Digging Shovel
- Transfer Shovel
- Pick Mattock
- Axe
- Garden Hoe
- 3 ft level & 6 ft level
- String Level
- 2x4x10 piece of wood
- Small wooden stakes
- Ground Tamper
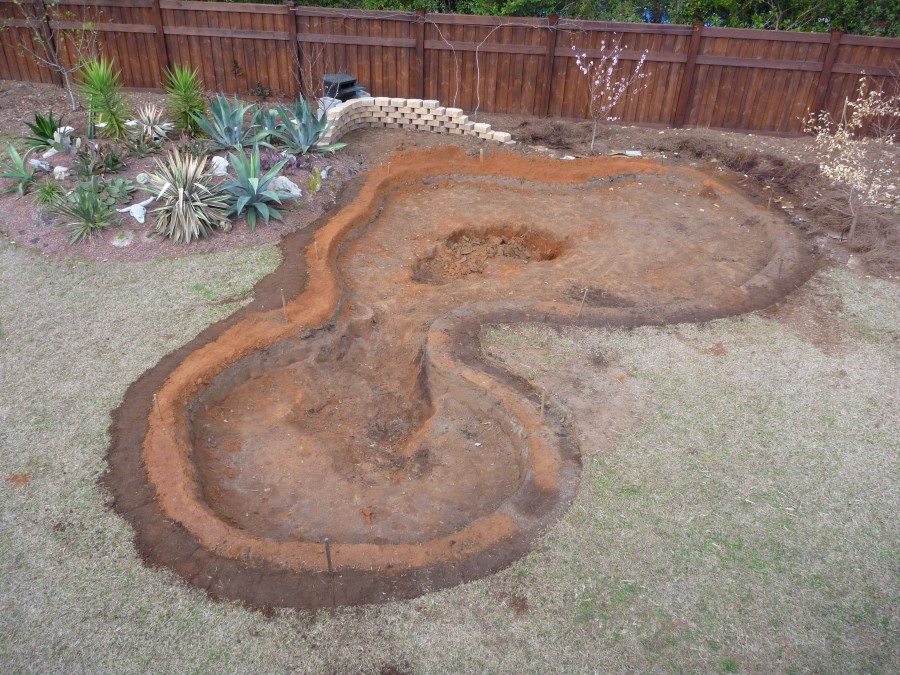
After digging out the overall footprint of the pond I needed to figure out an approximate level of the sides. Even though the area the pond was in looked level it was not. The backside was much lower than the front. So I needed to build up the back with dirt I was digging out. To help me with a general idea I staked several wooden stakes at the different ends of the pond. I connected string to them and used a string level to mark the wood. I used the wooden marker at the front of the pond where I would normally approach the pond as the guide to set the water level at. The leveling of the pond is important so that you don’t have a lot of the liner exposed.
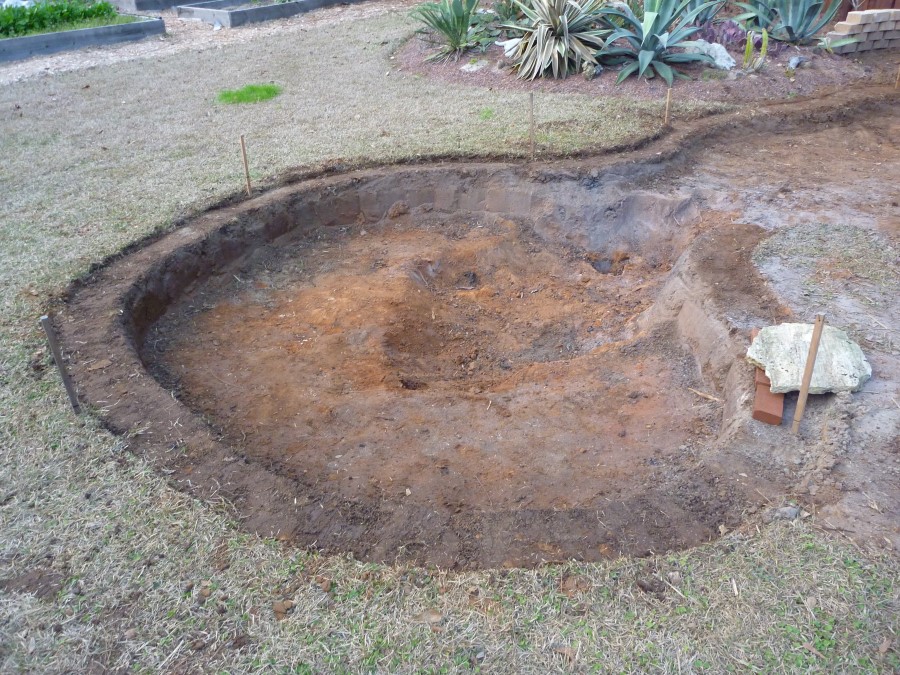
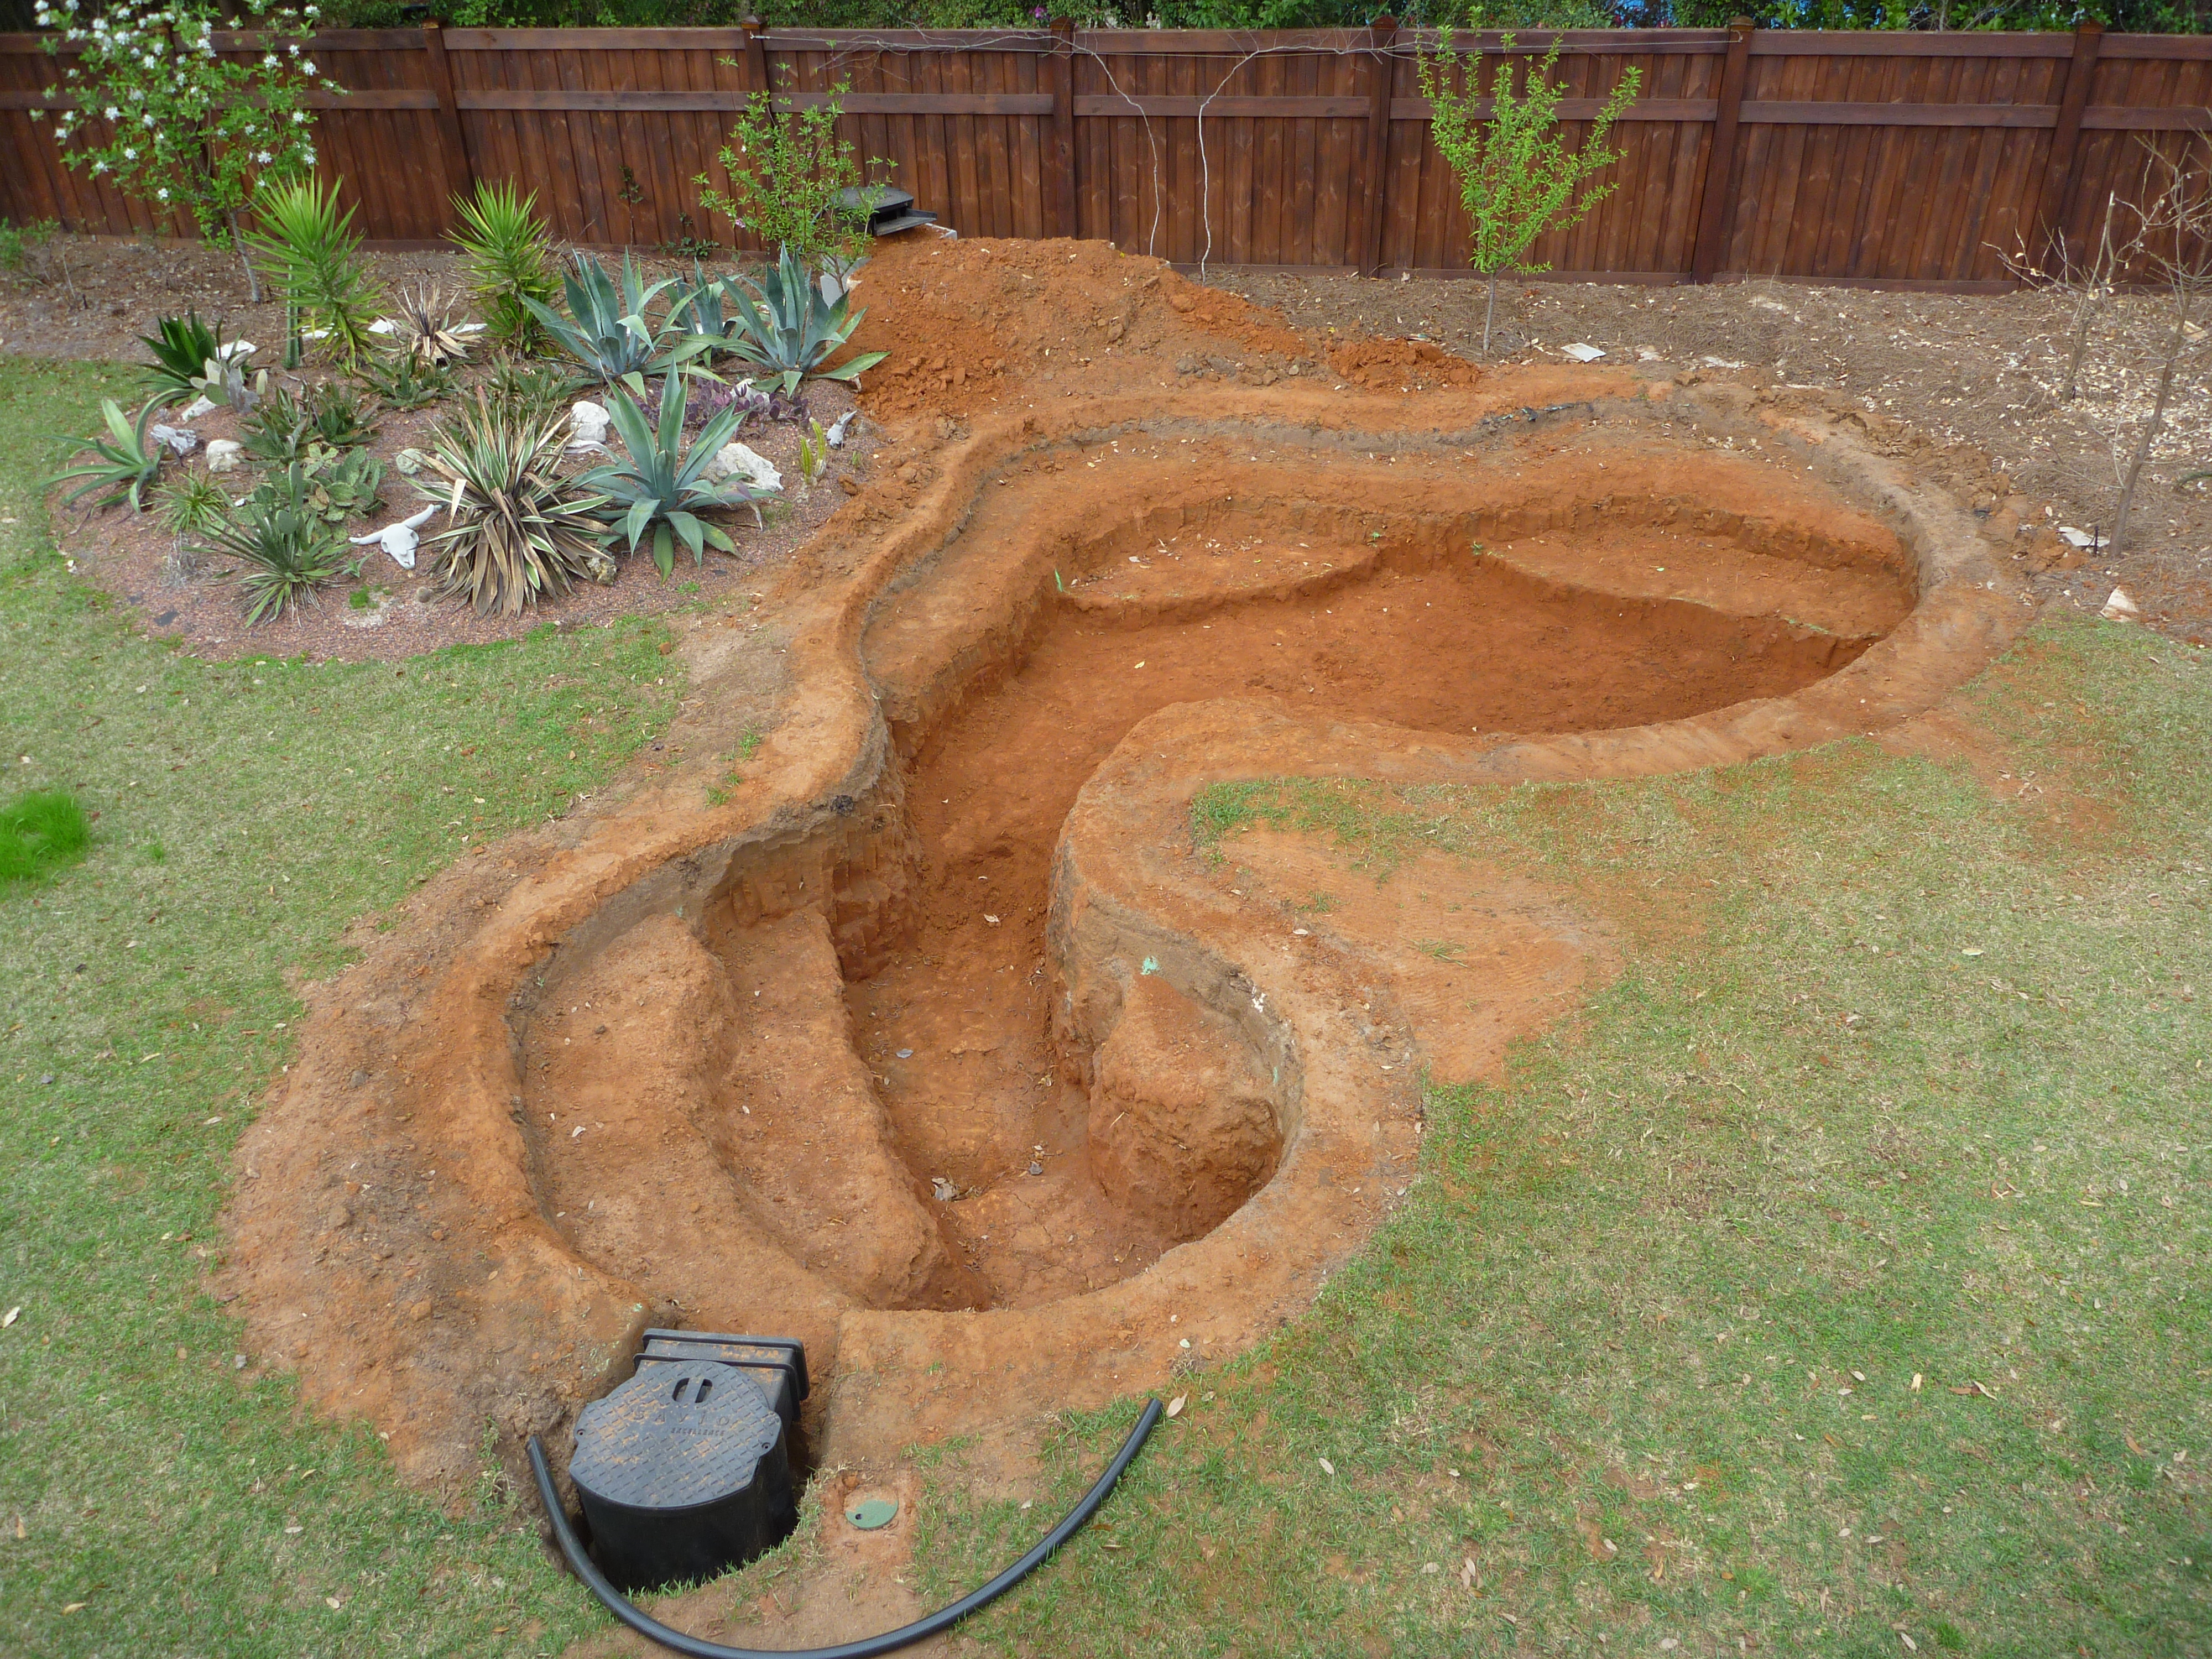
After digging a little bit more I decided to take the time to really level the sides. This was the worst part of the whole pond but its also very important. At some points I used a long 2×4 and placed a level on it to help. I also went completely around the pond with a 3 foot & 6 foot level and tried to make each section level as best I could. The clay helped create a more stable edge. I also used a ground tamper. During the digging I covered the sides with tarps and/or plastic to protect the sides from rain. The picture below was after the sides were leveled. 
Now was a good time to add the water pump hose, the skimmer and the waterfall overflow box. The hose will be permanently installed at this time but the skimmer and waterfall box will be just placed where they are going to go. I will finish installing them later. I did have to fix the leveling I did a little bit. 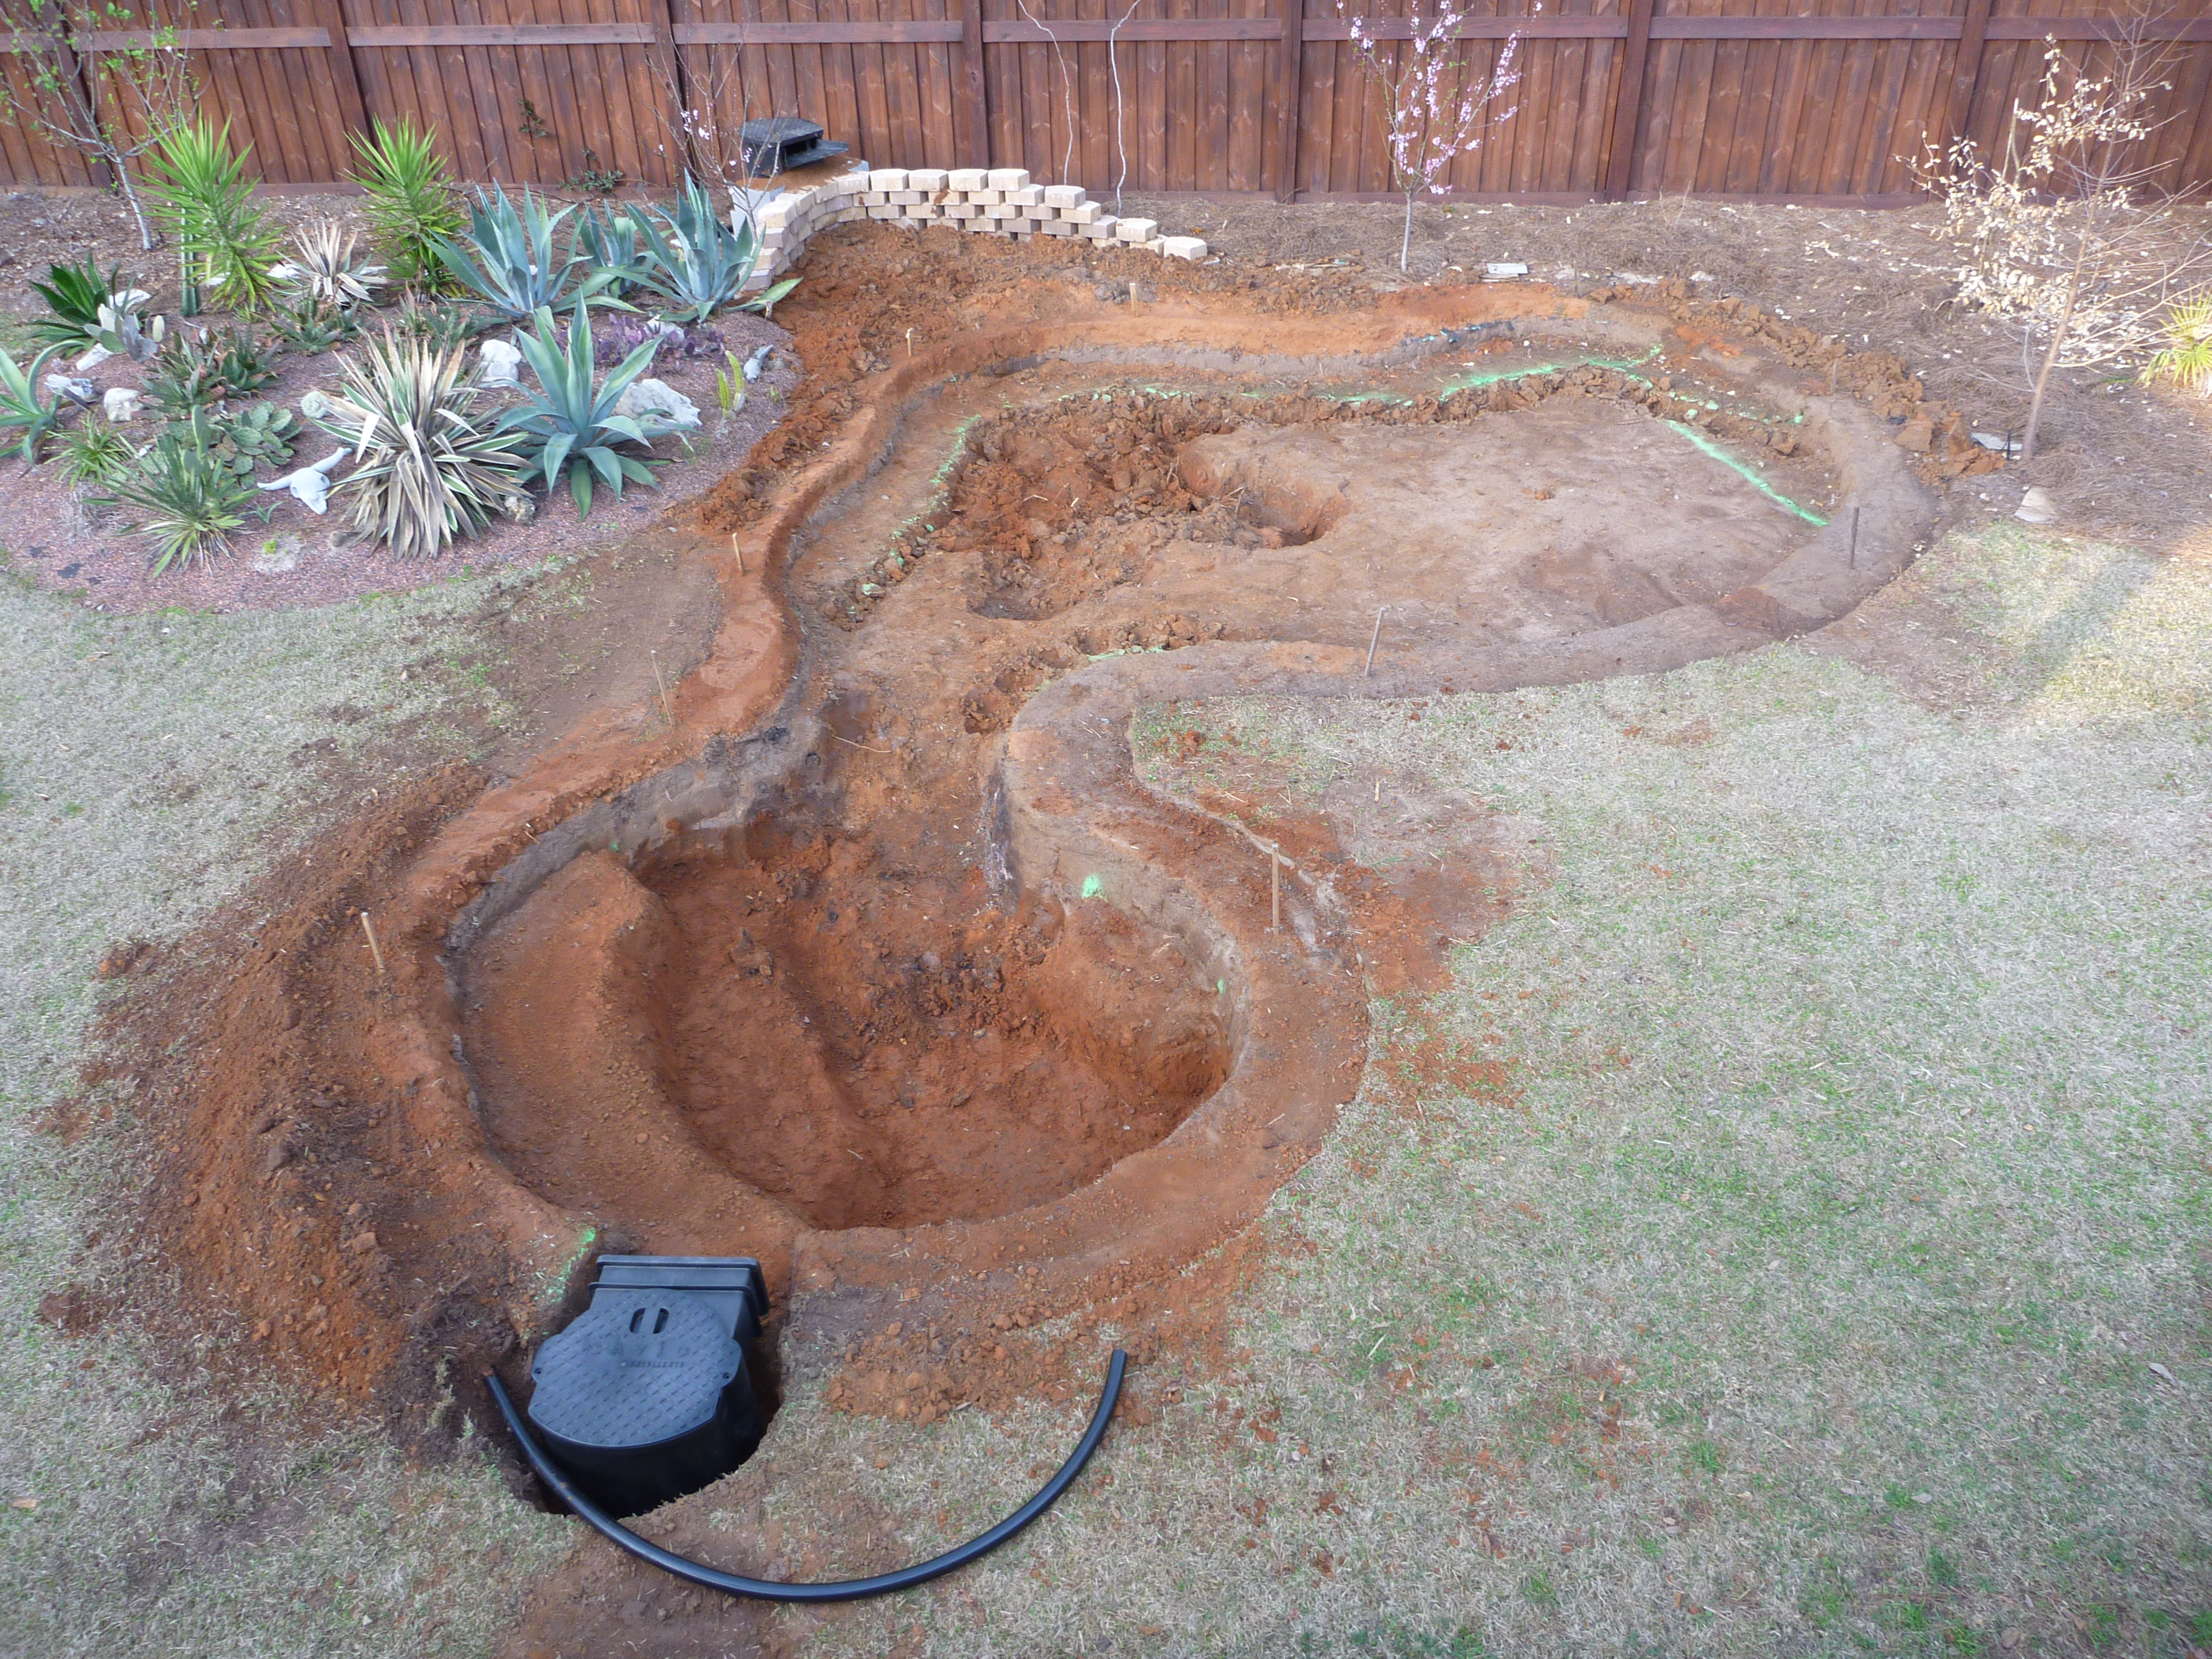
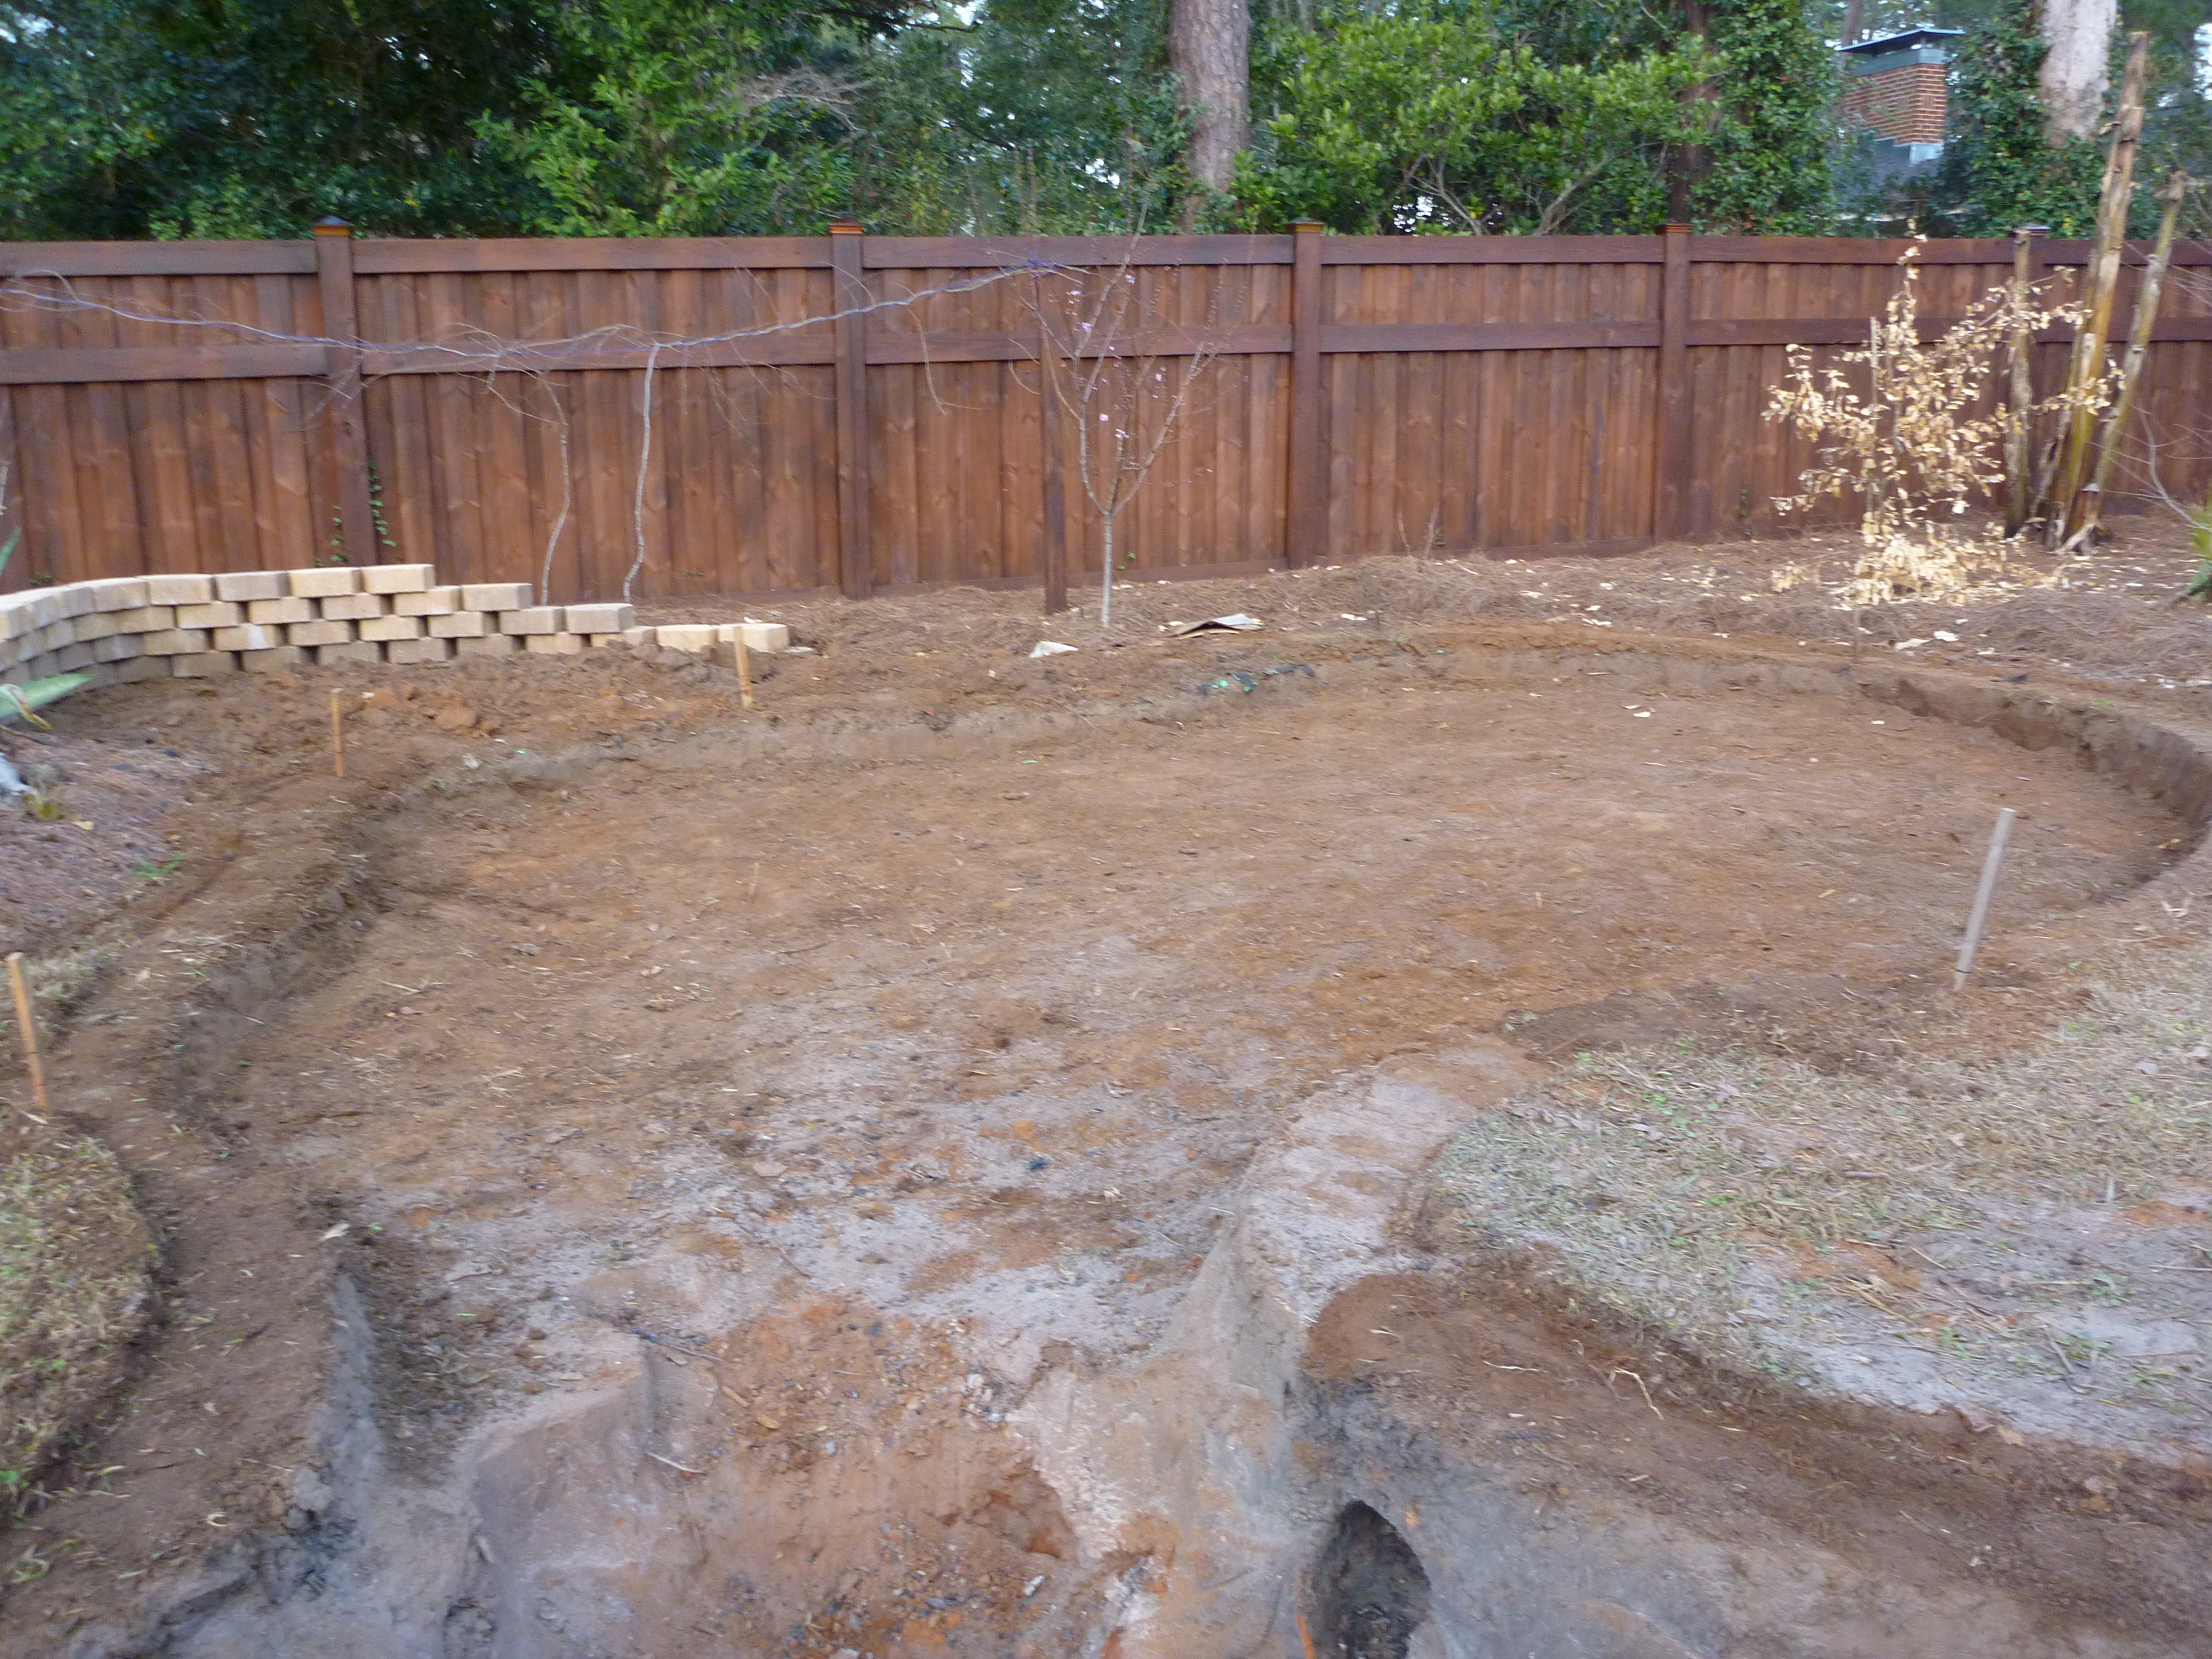
Below digging is almost done. I got a few more layers to dig but some of the shelving is now defined. 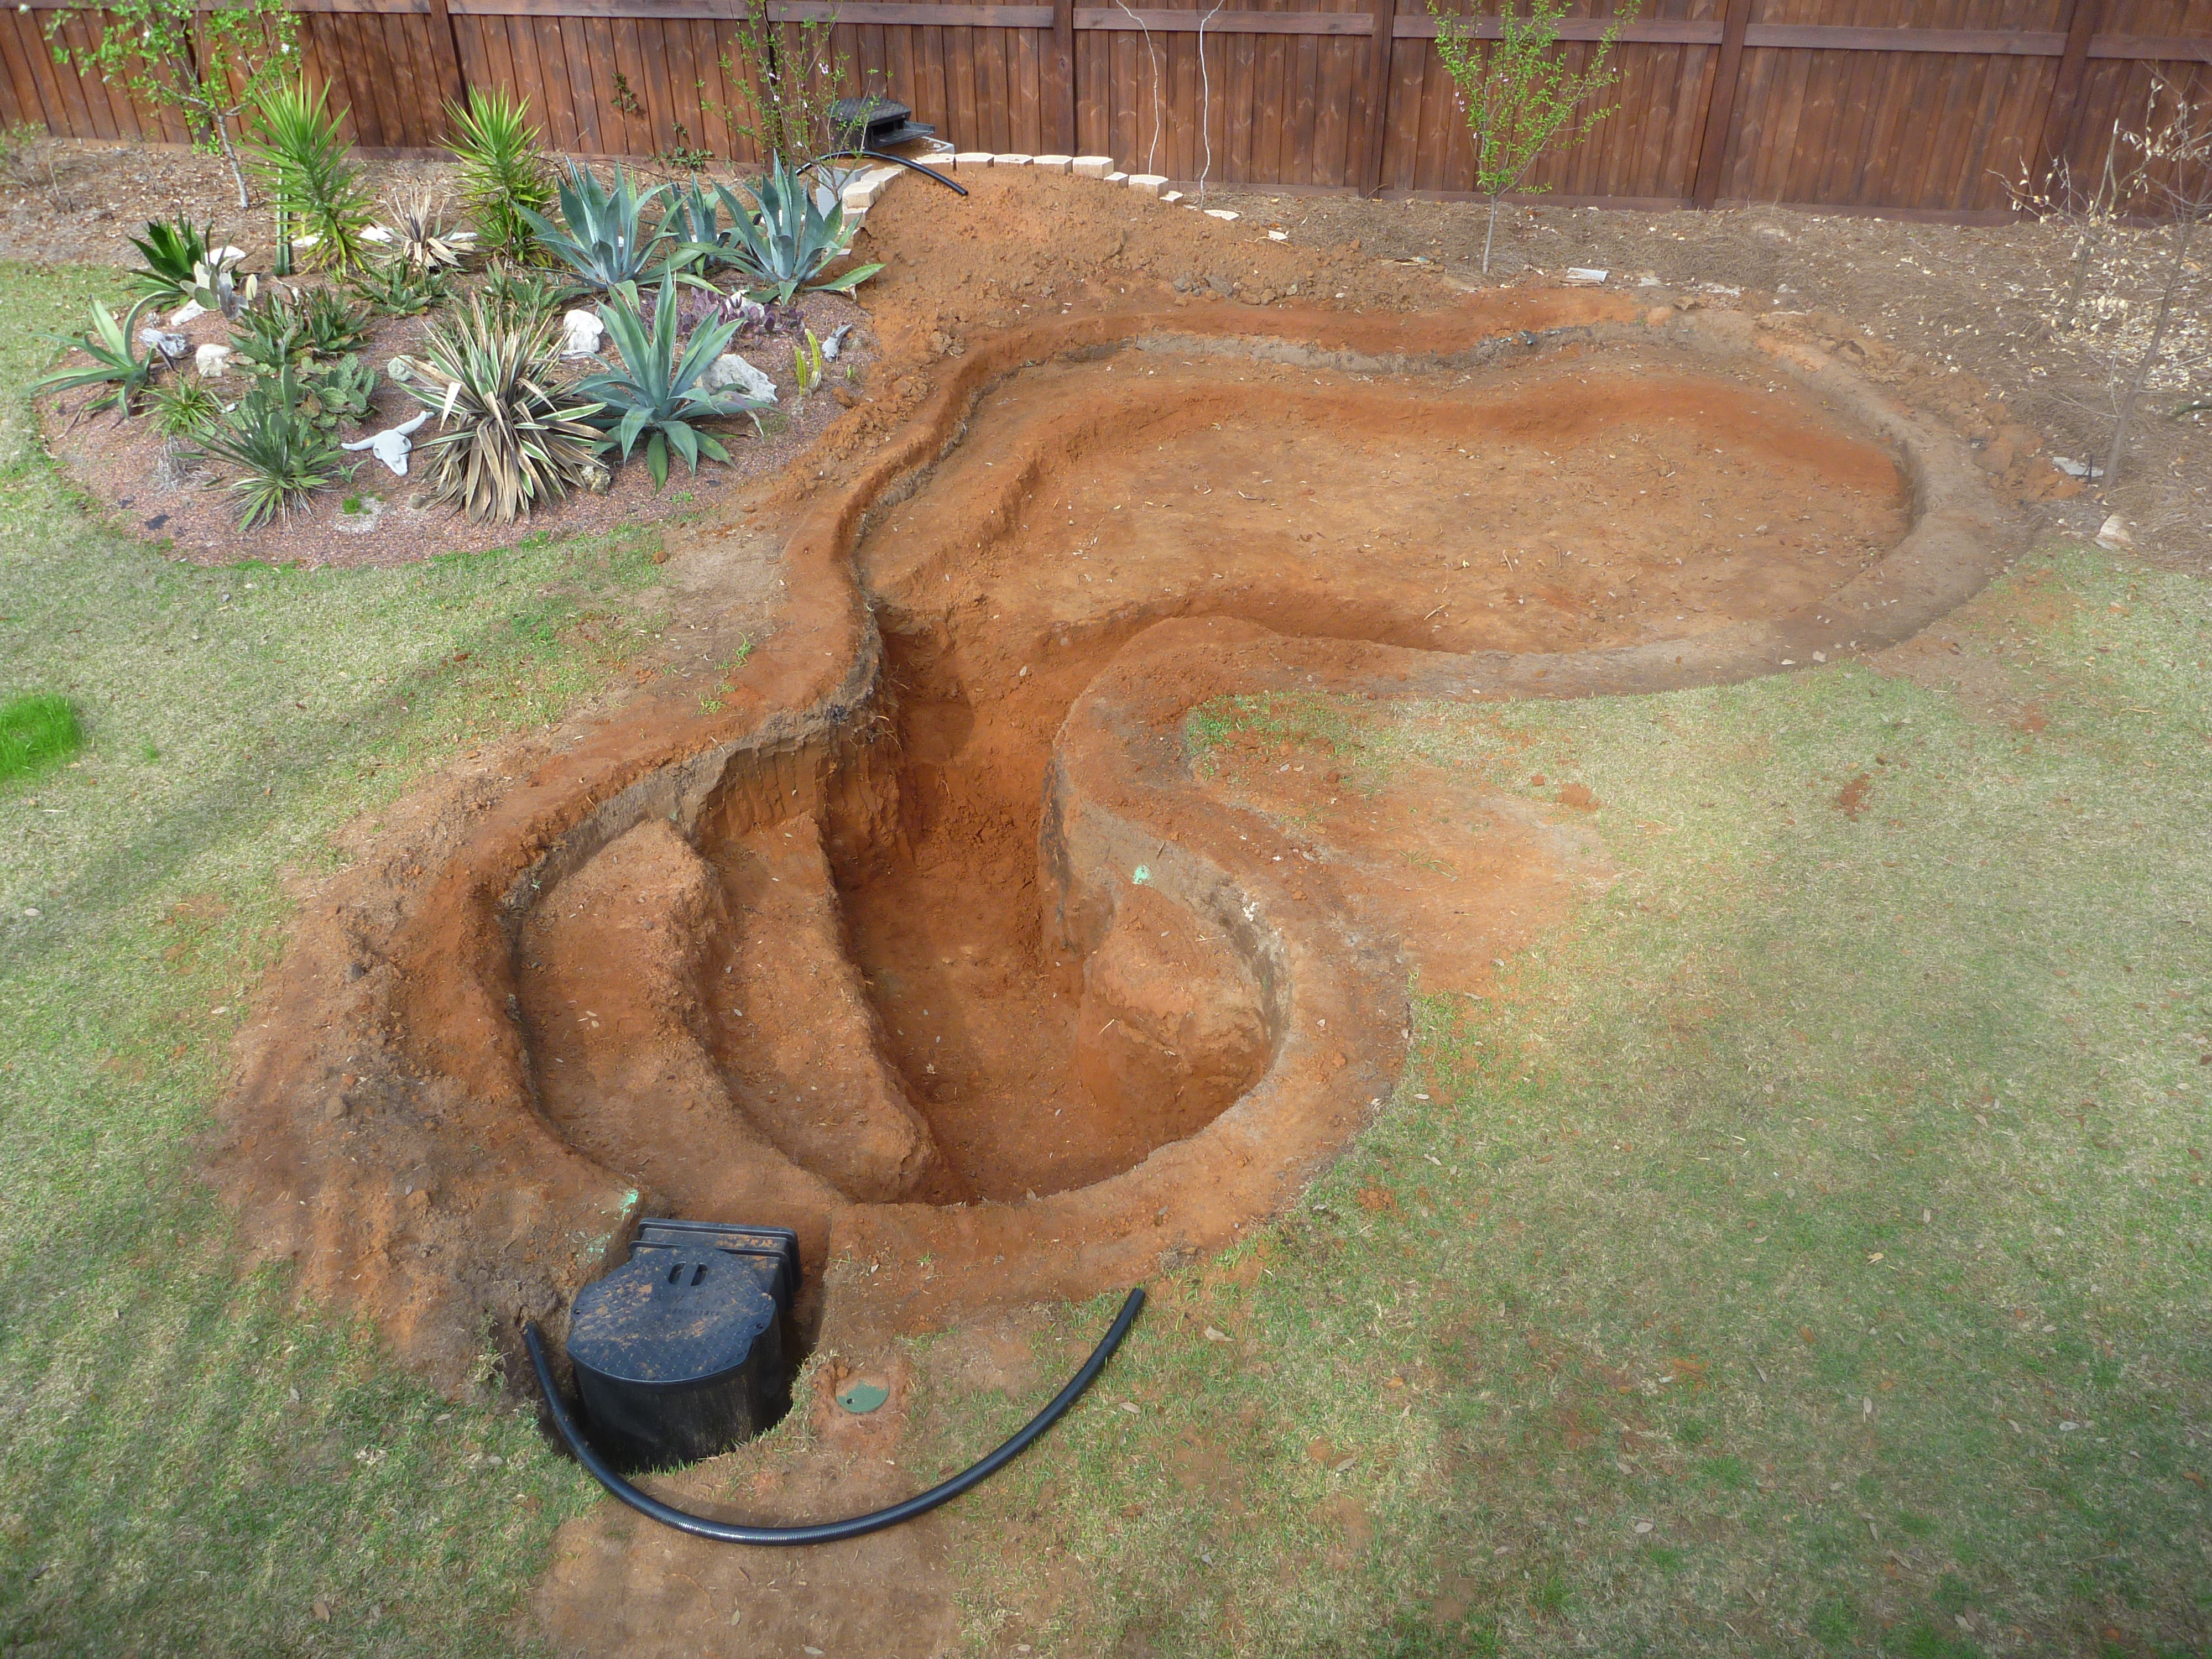
Next Post: Part 4 Pond Construction – Waterfall Formed & Digging Completed