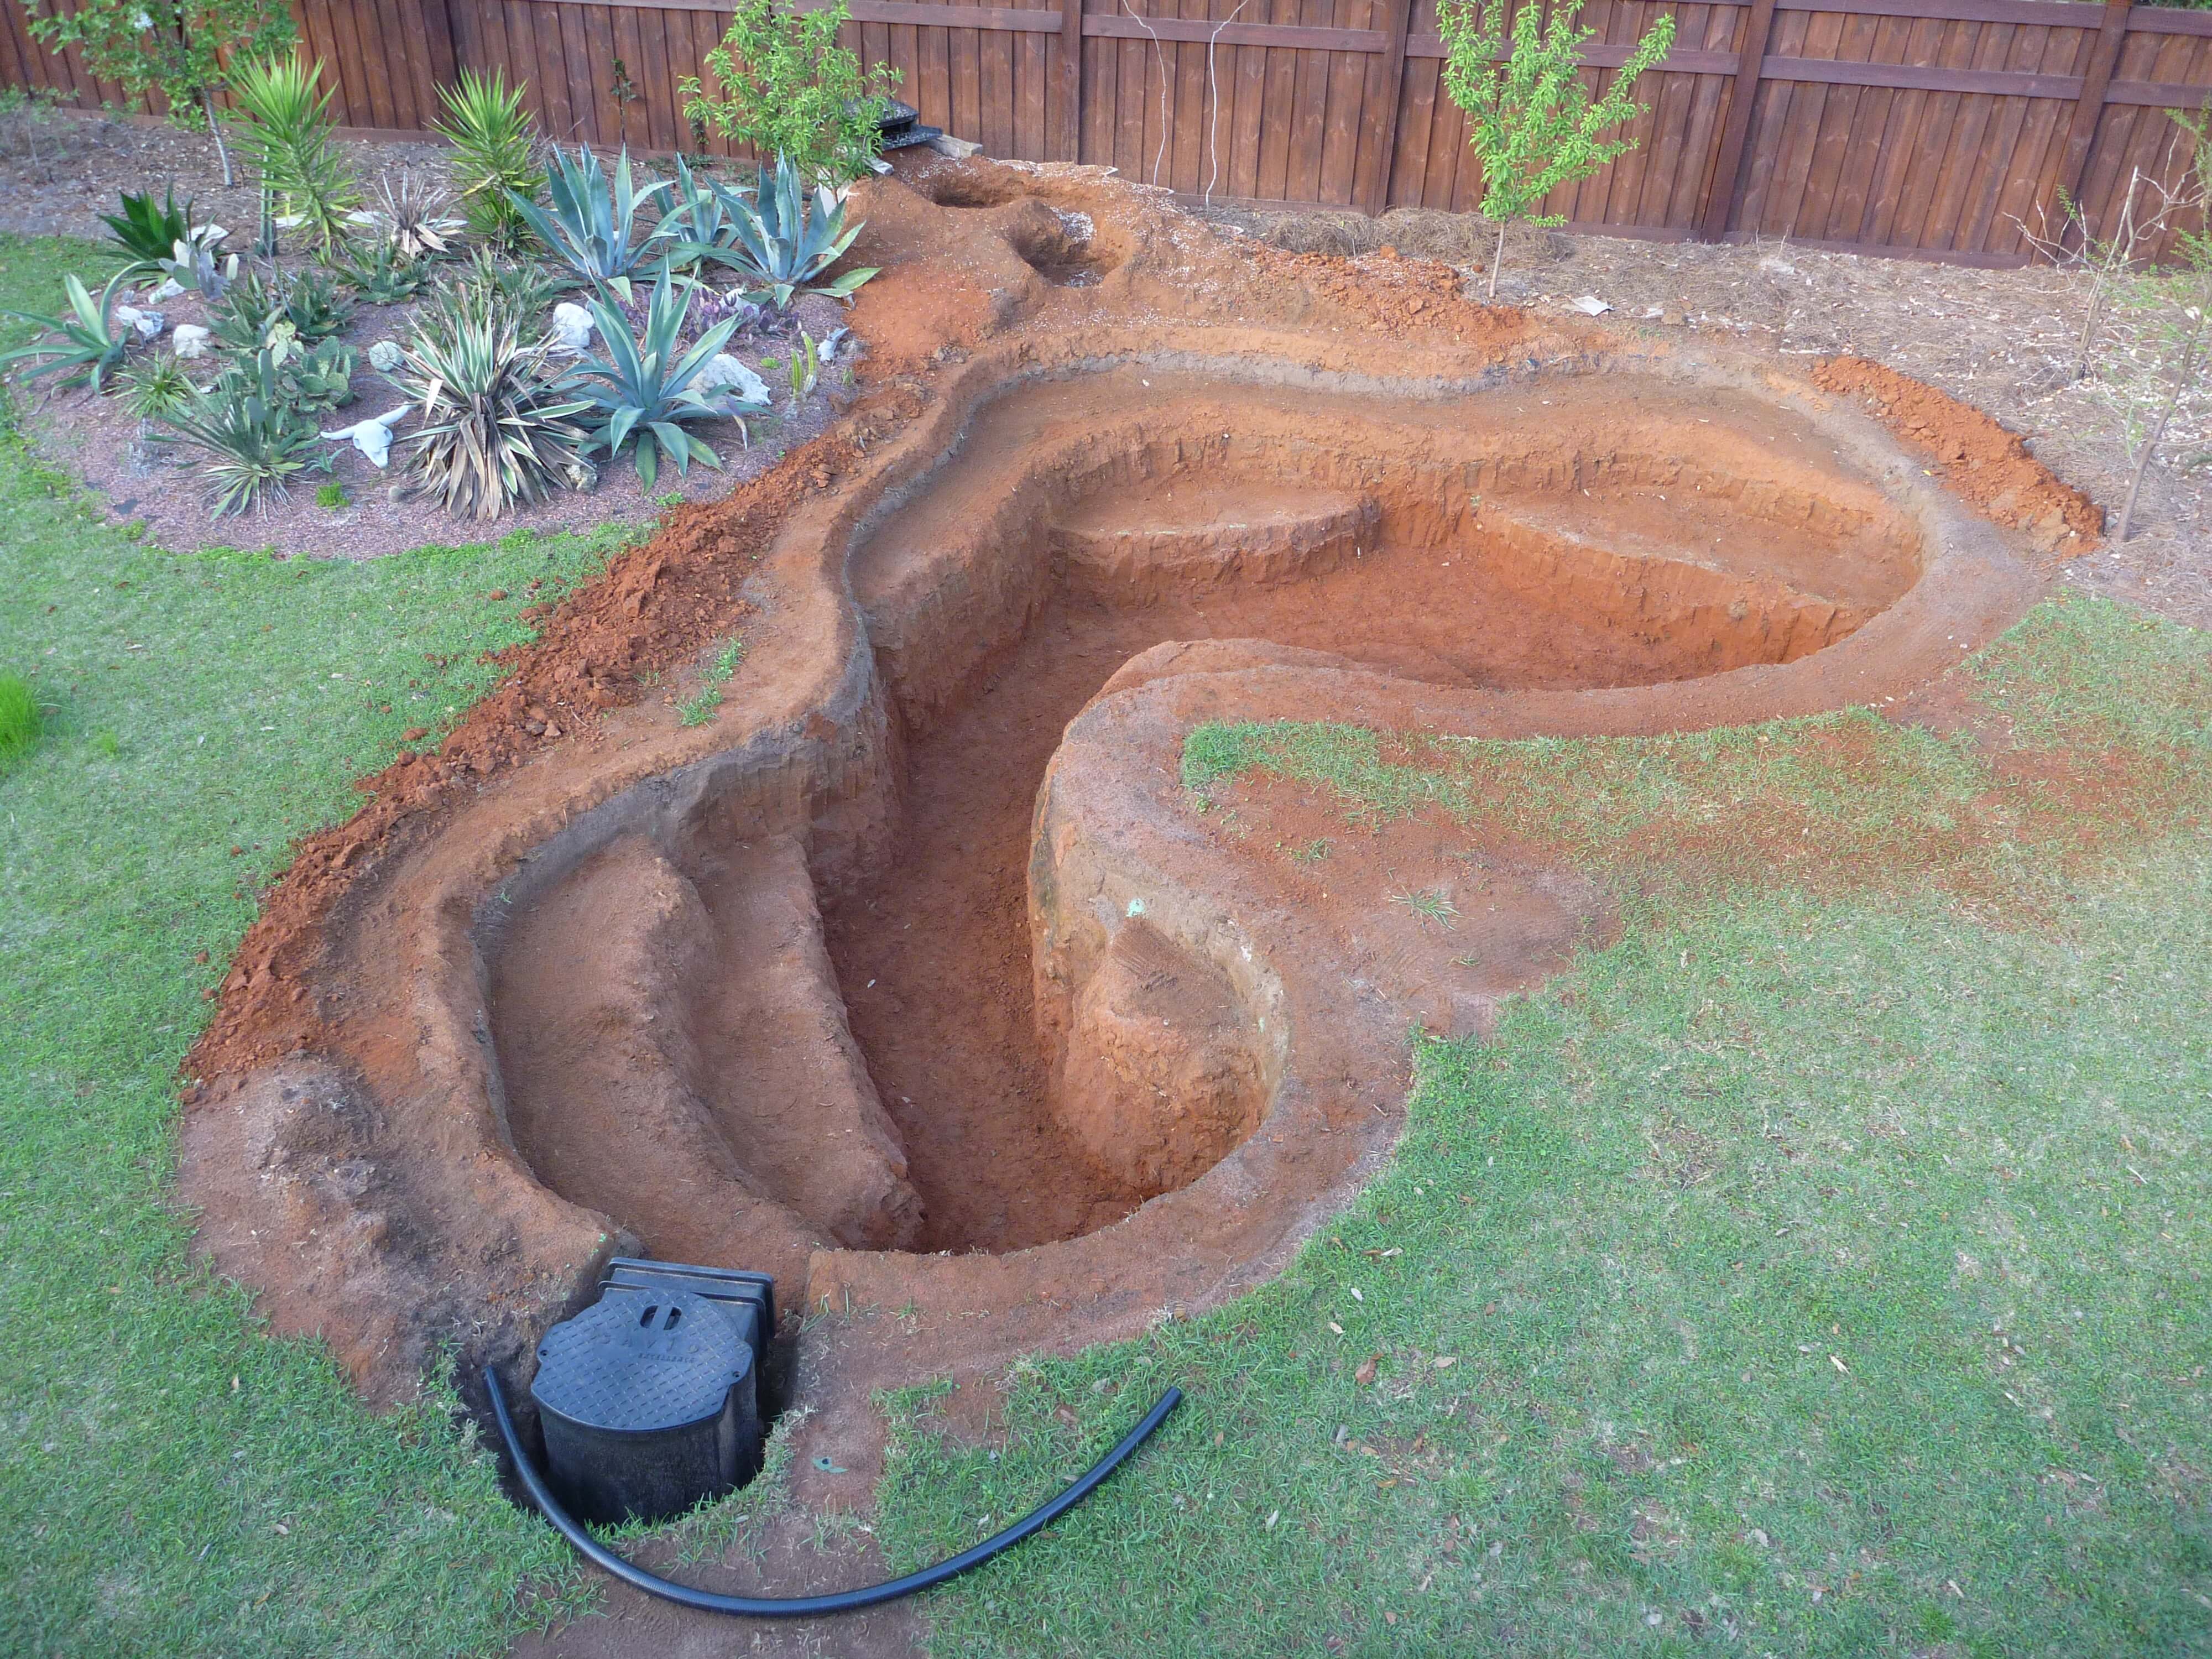
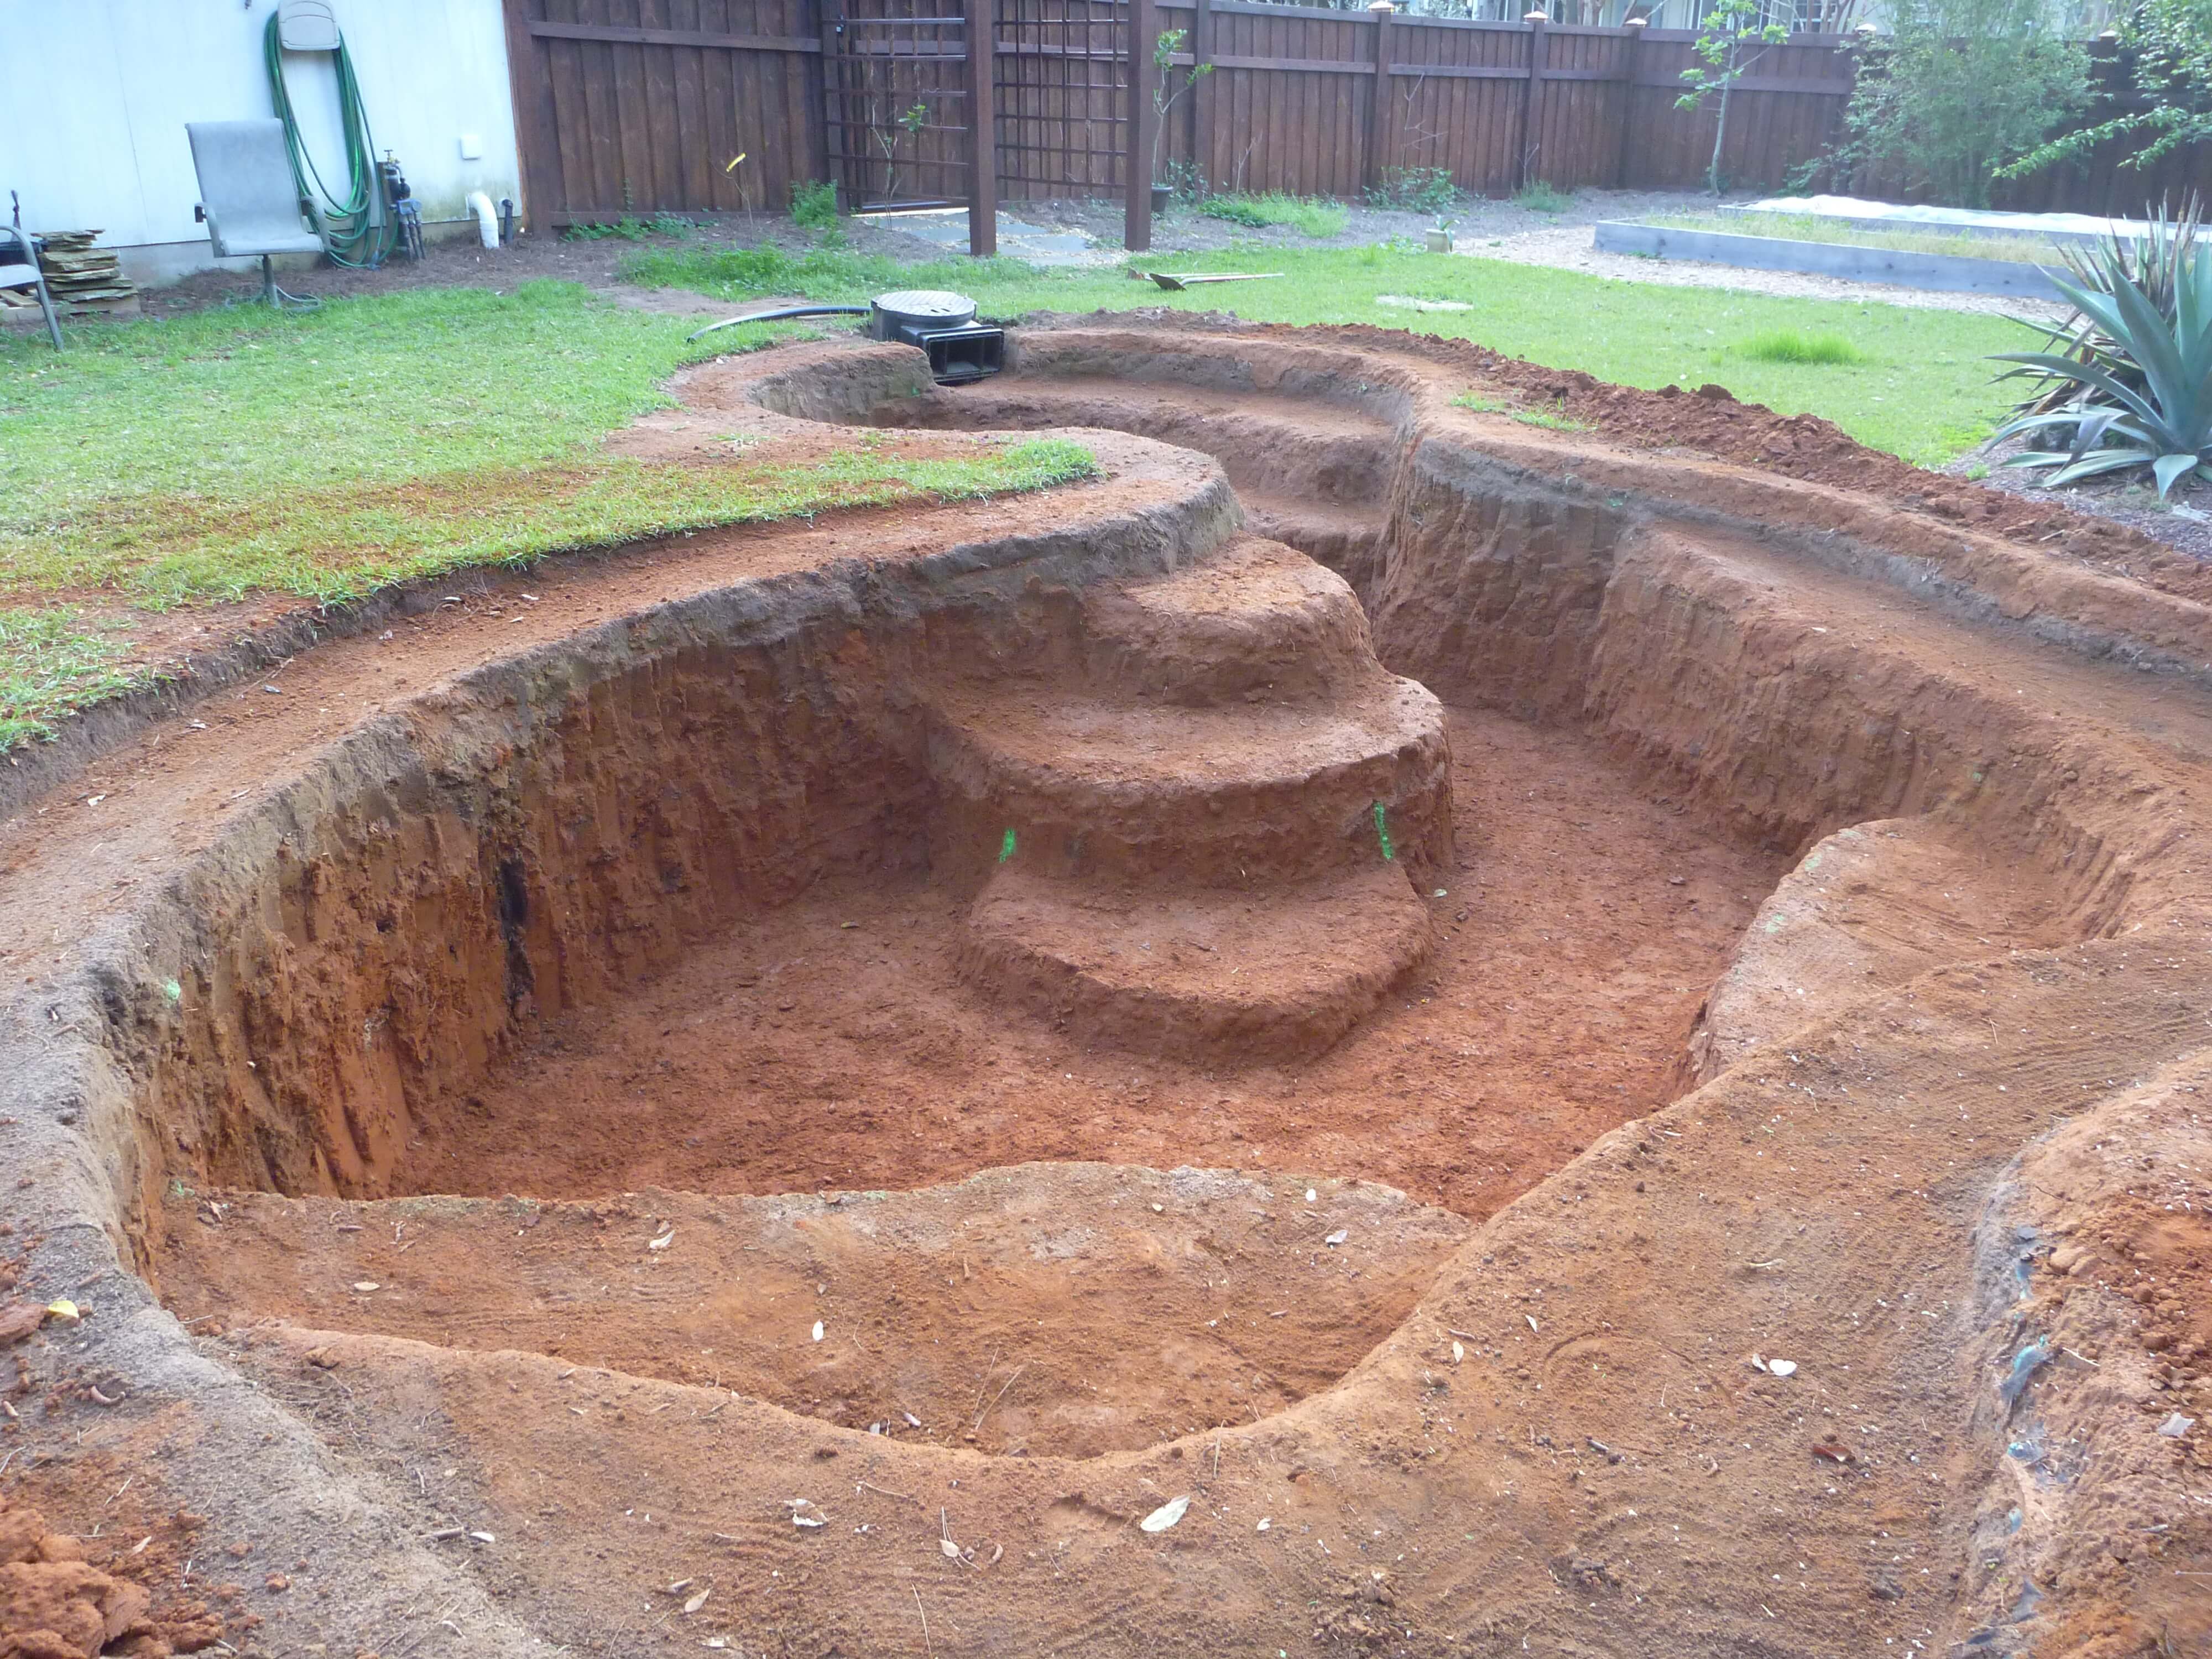
In Part 3 Pond Construction – Leveling and More Digging I talked about leveling the ponds sides and continuing digging. In this post I am going to show the pond completely dug out now that I have the pond digging completed.
Materials Used:
- Garden Dump Cart
- Digging Shovel
- Transfer Shovel
- Pick Mattock
- Axe
- Garden Hoe
- Hand Held Pick
- Ground Tamper
- Small Hand Shovel
- Pruners
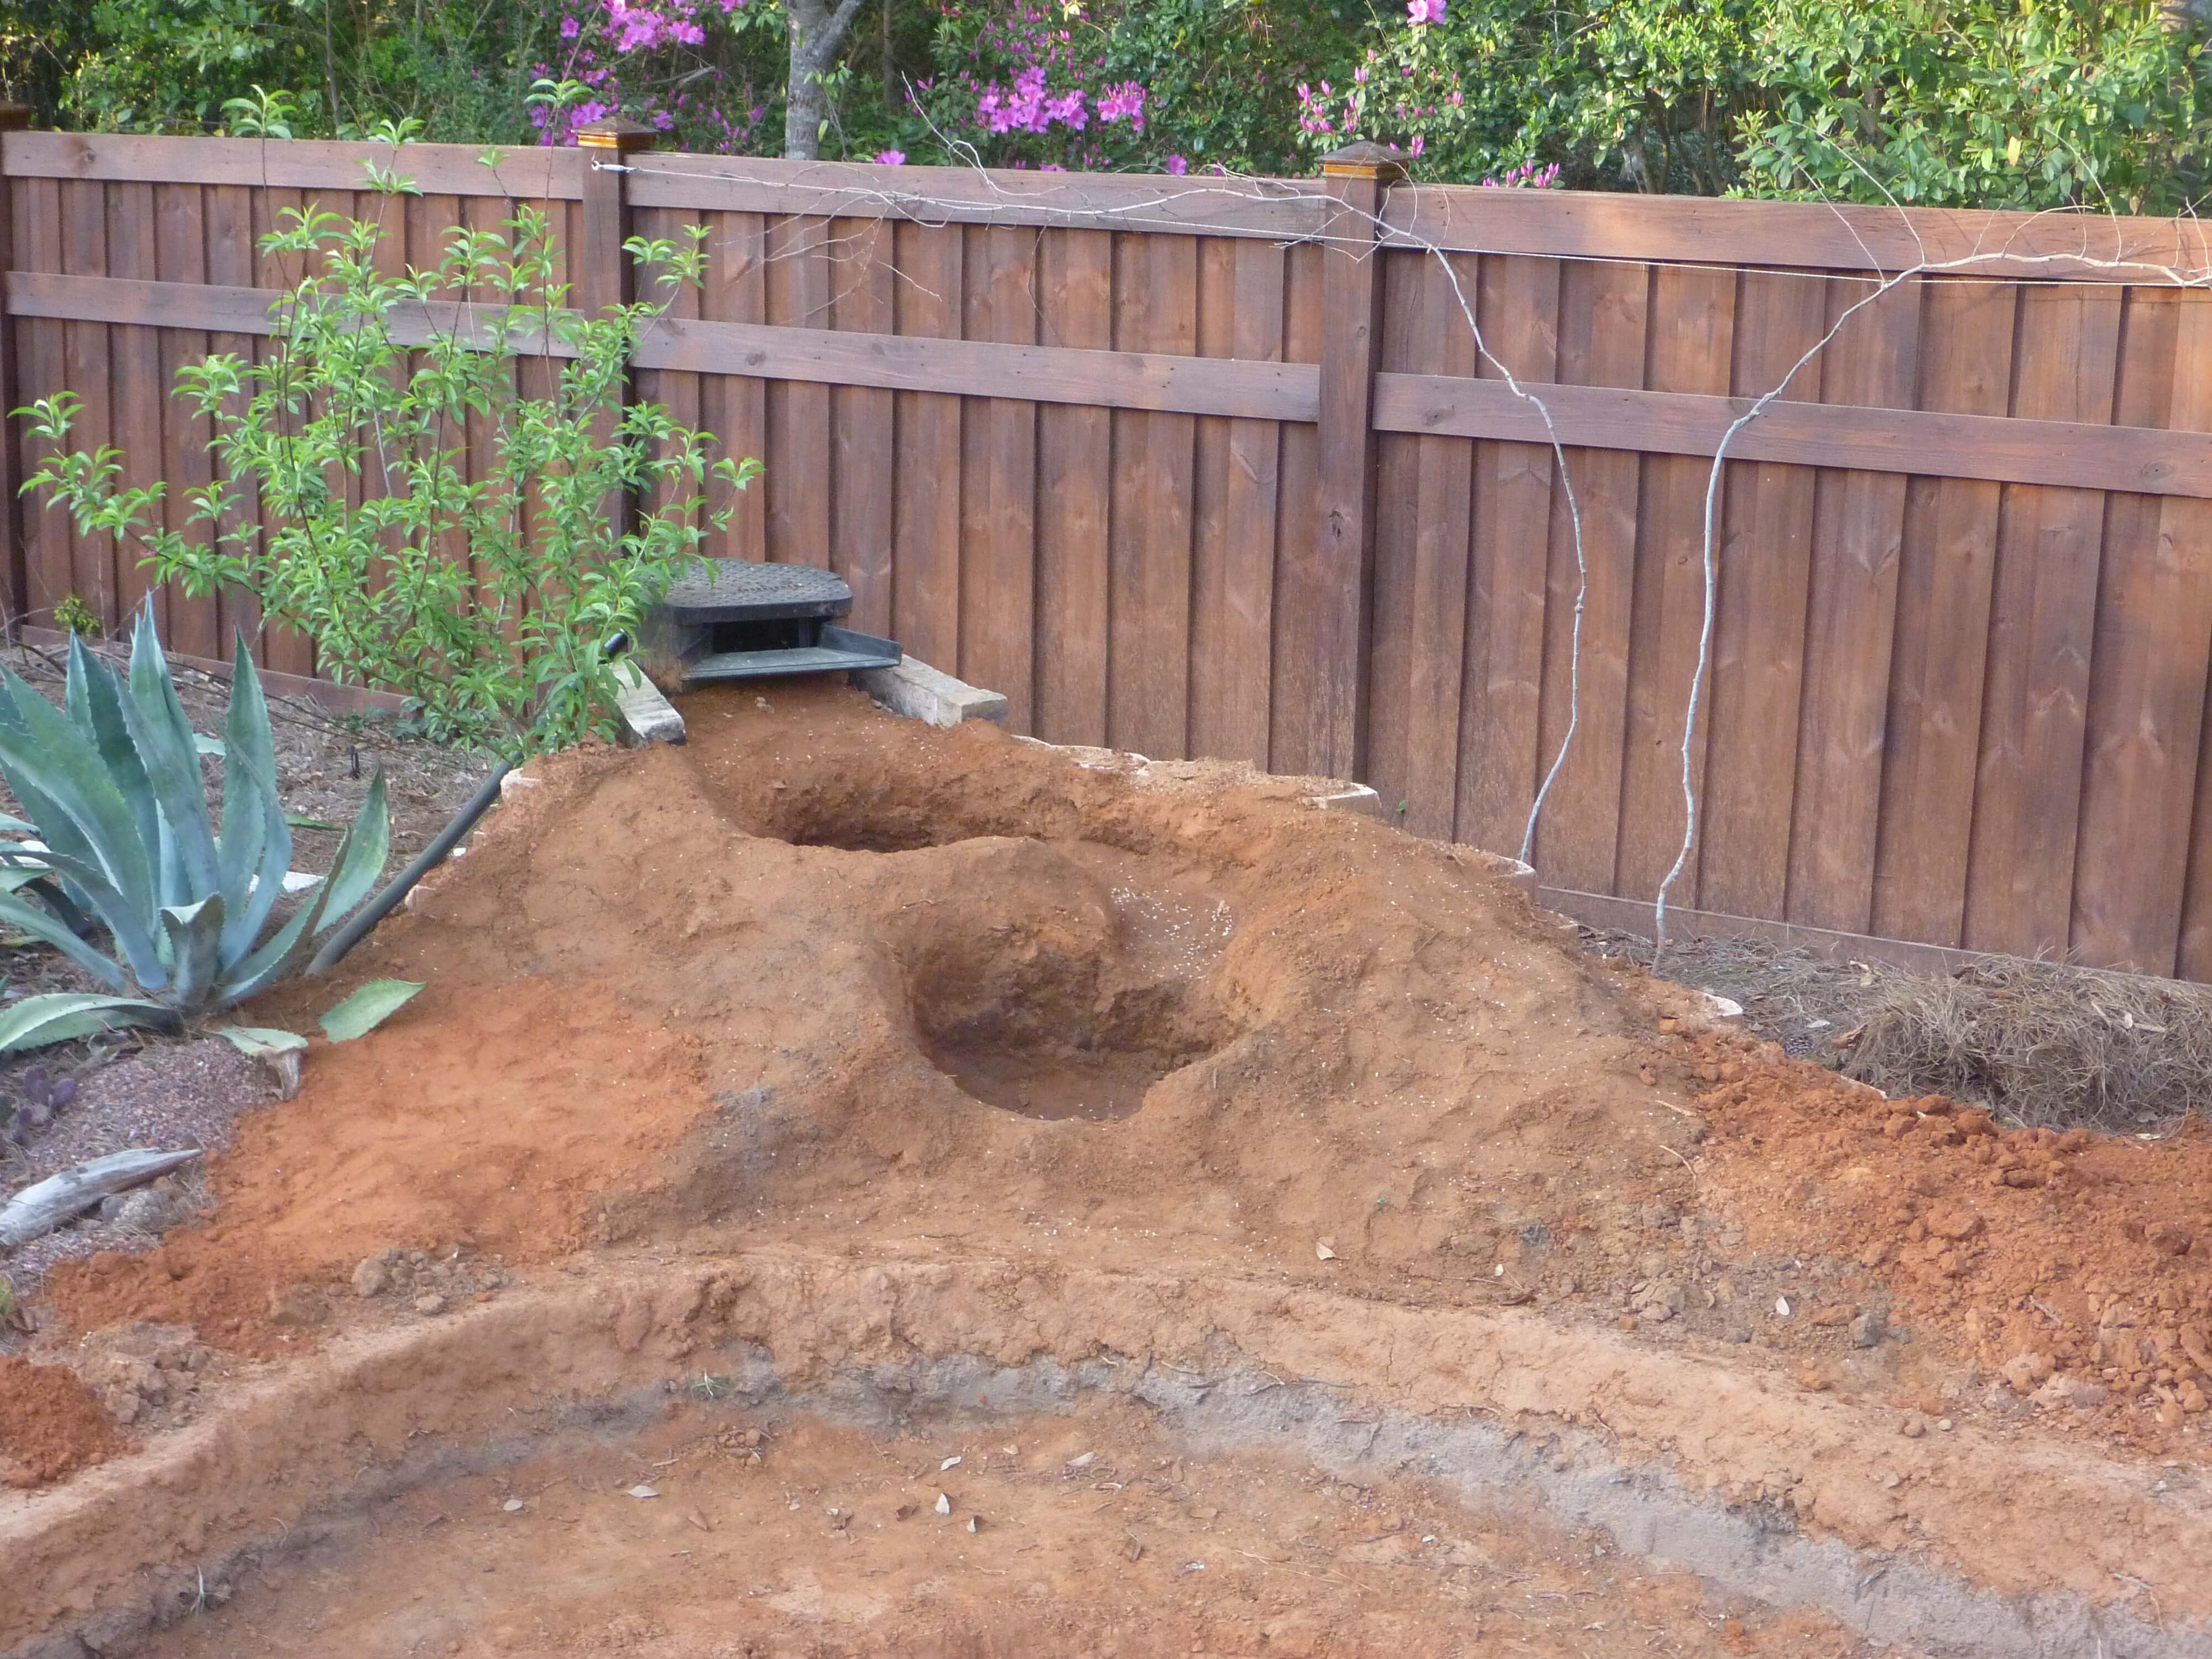
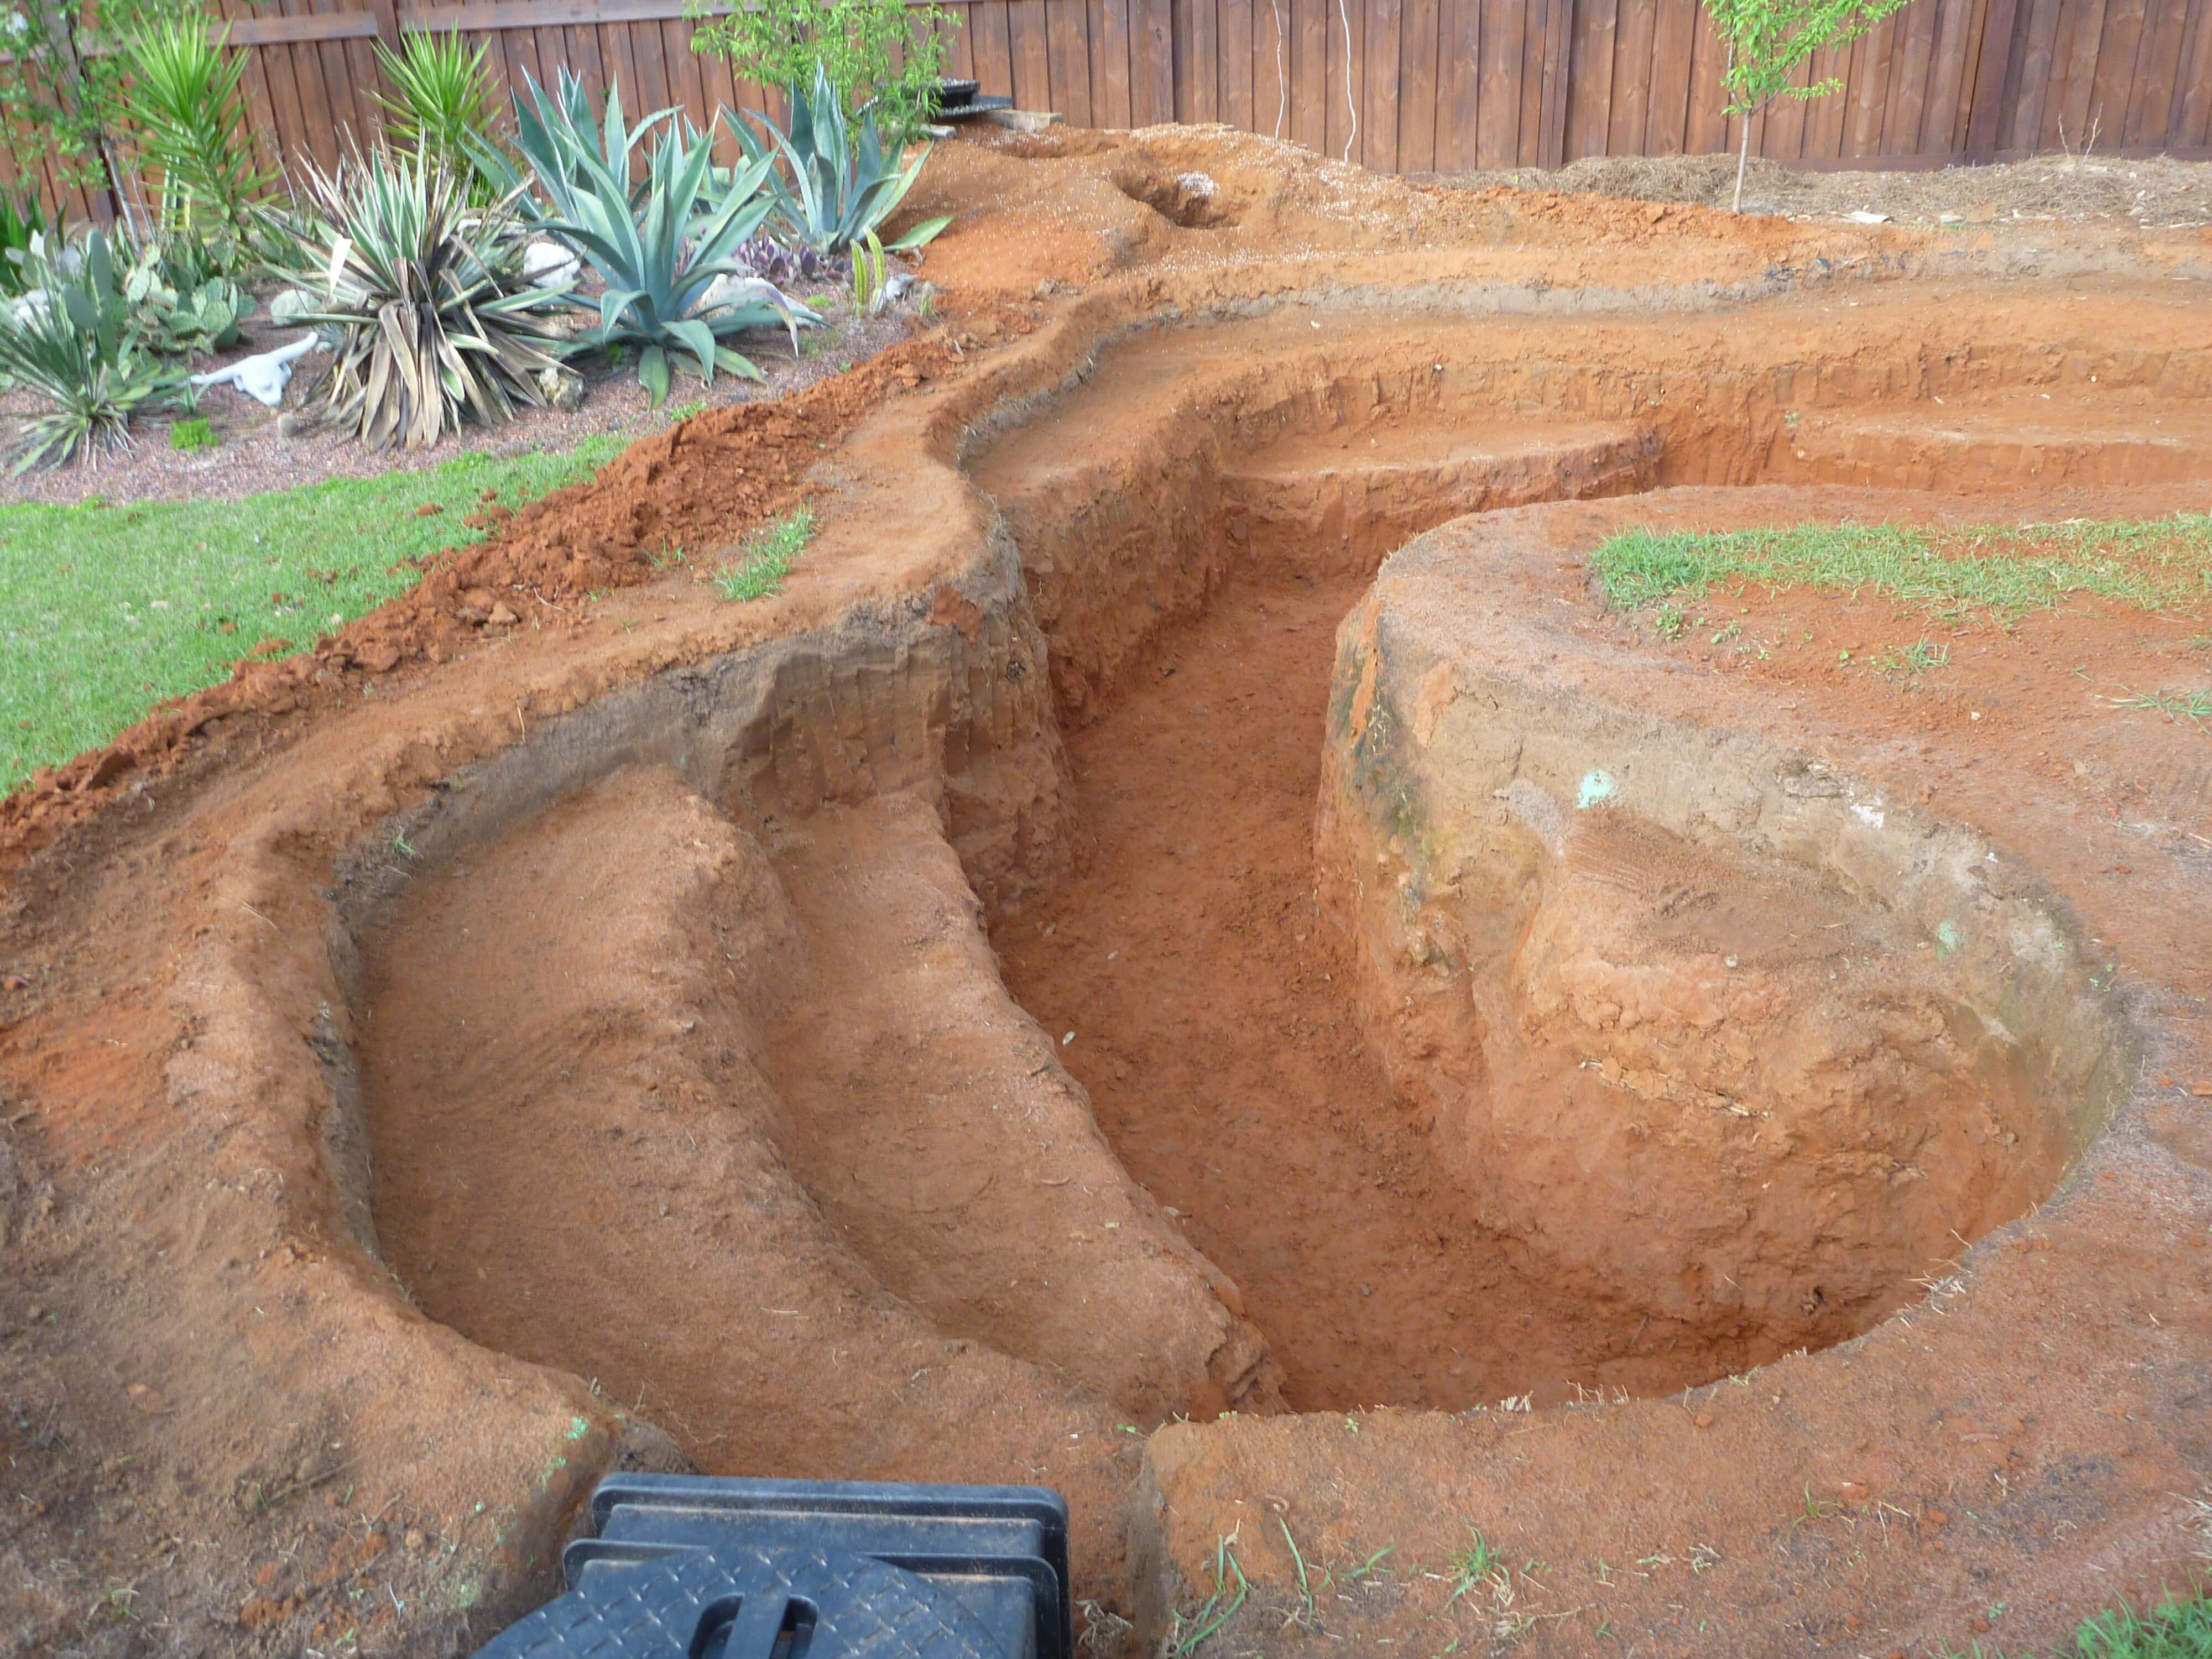
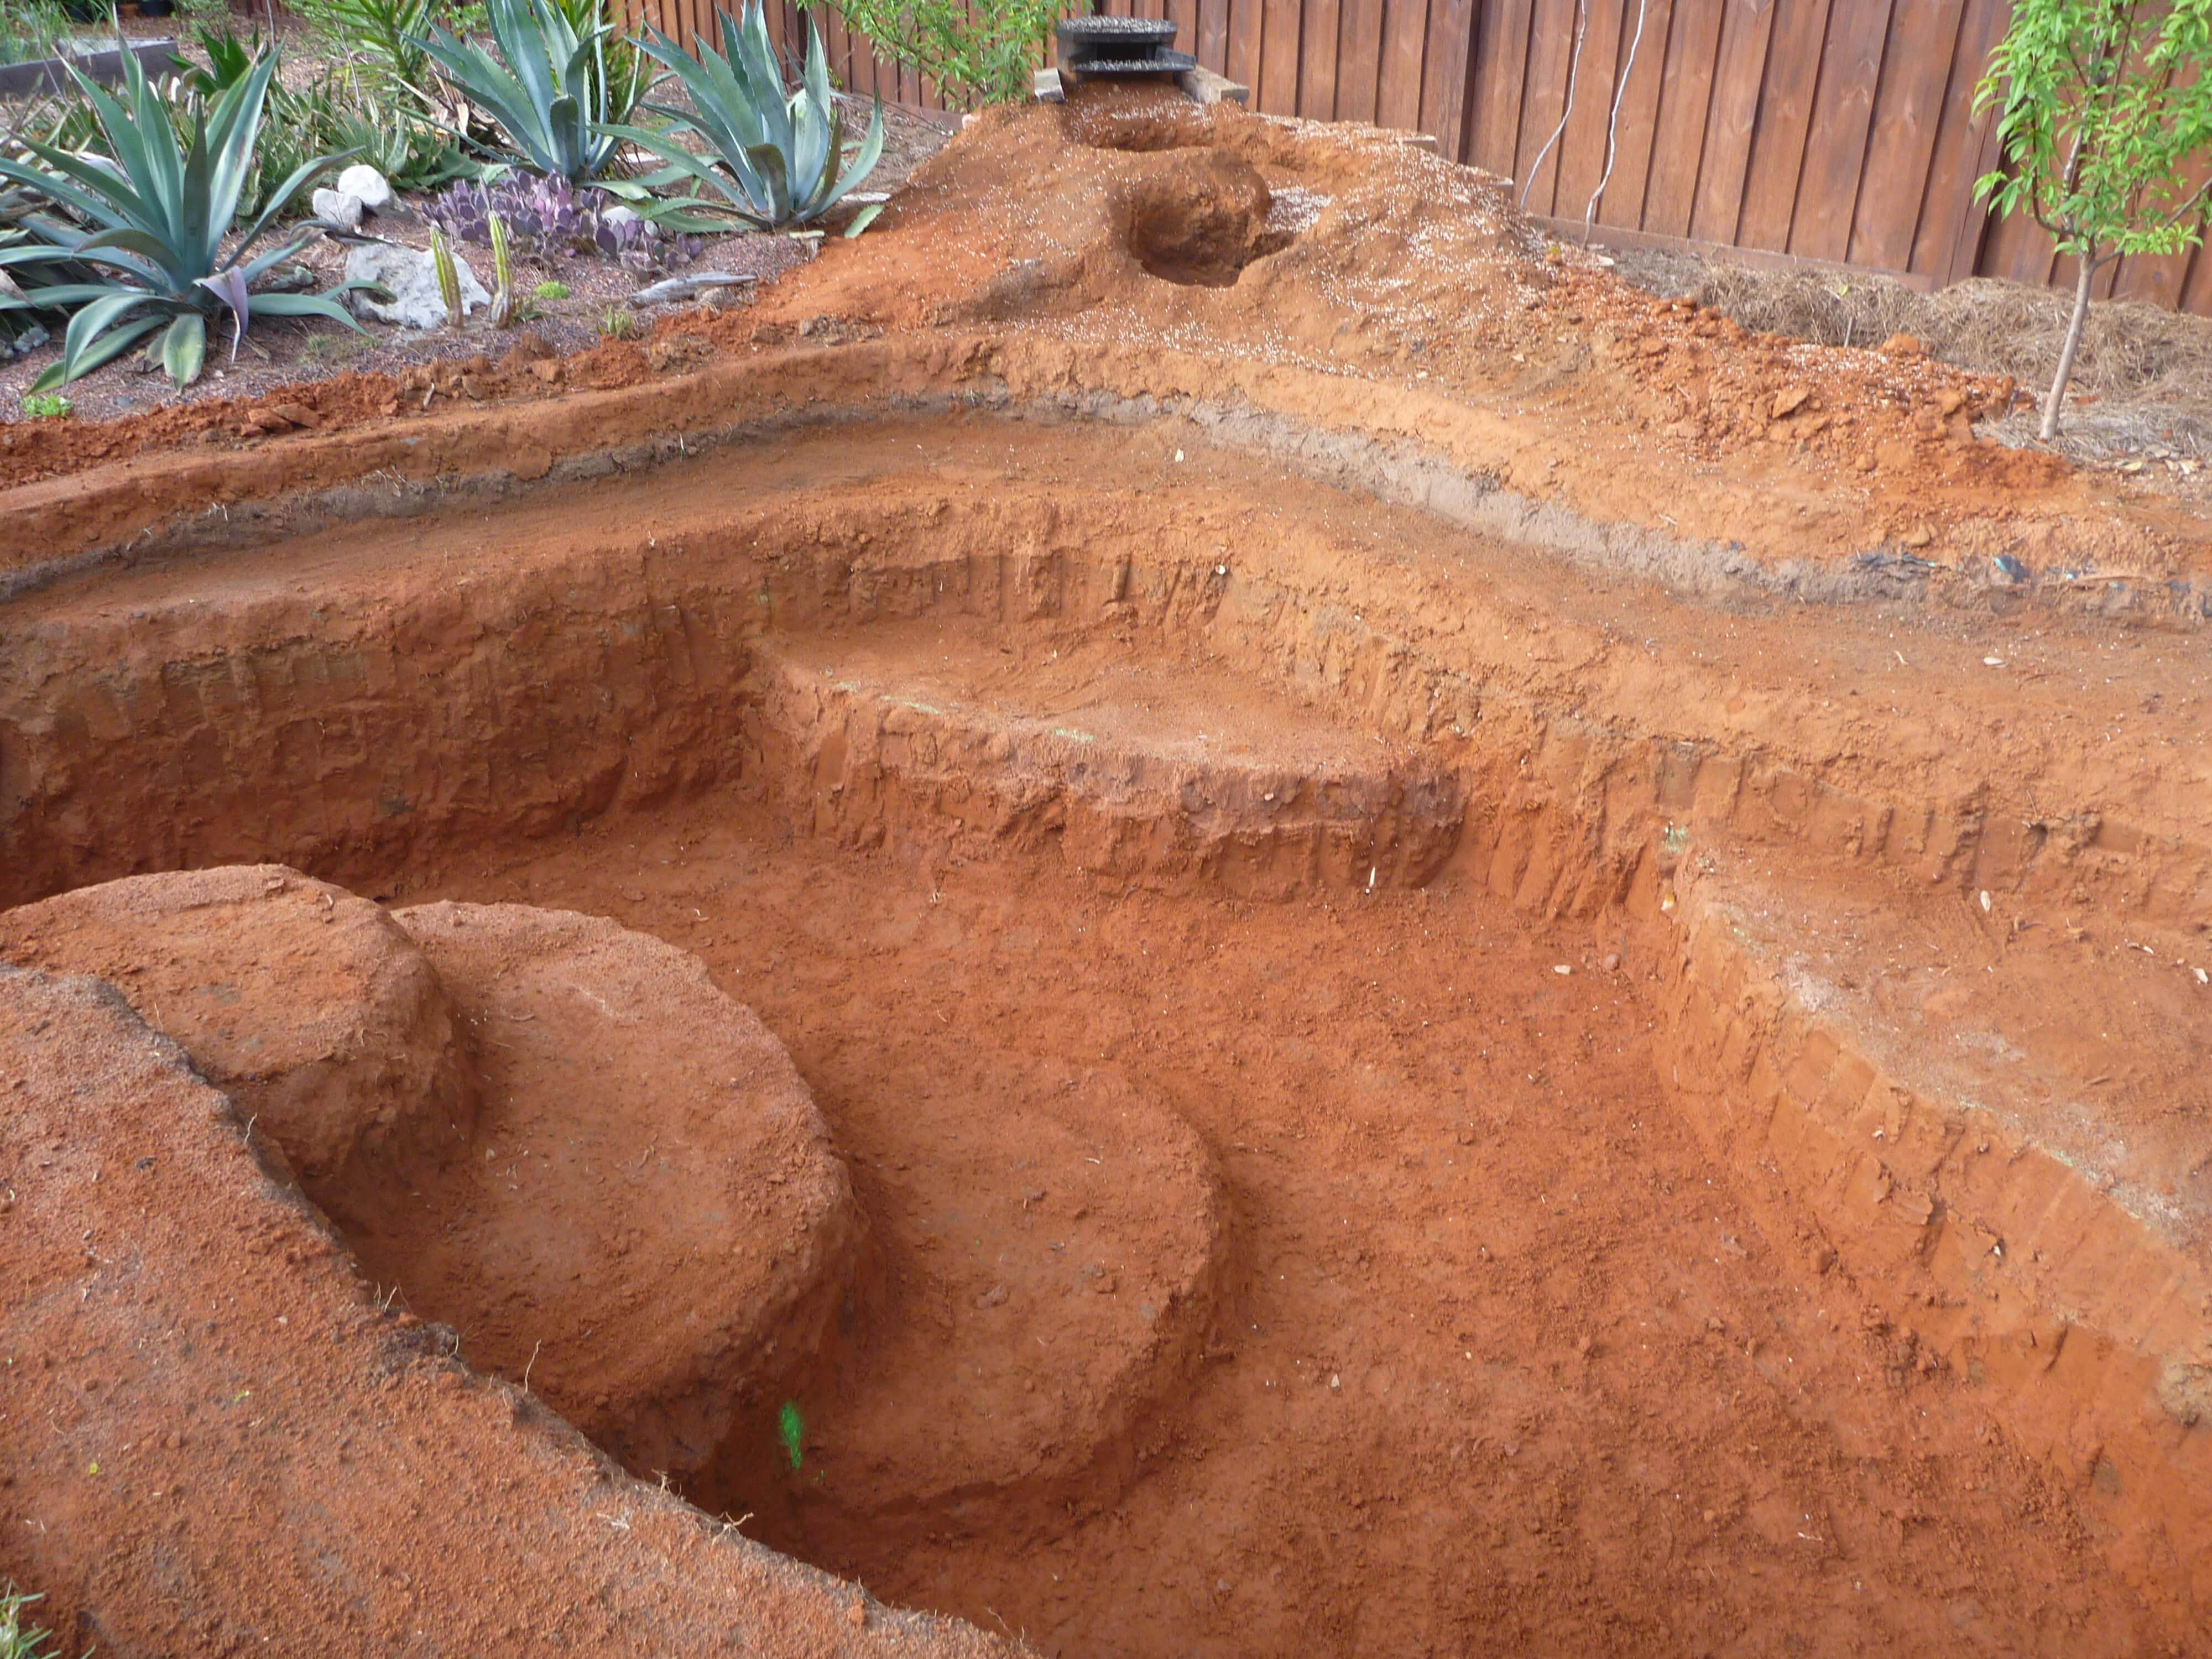
Now was the time for me to finish up digging and to start forming the waterfall. Where I wanted the waterfall I started putting dirt in a pile there. This pile would then become the waterfall. I tried to pack it down as much as I could by using the tamper and walking on it. Still the dirt was loose but it made it easy for me to form the way I wanted the waterfall. I wanted 2 smaller sections and a little stream before the water would reach the pond.
Now was time to form the waterfall. As I formed it I also packed it down. I made two reservoirs for the water and a small channel for the stream. You can see it more in the next picture.
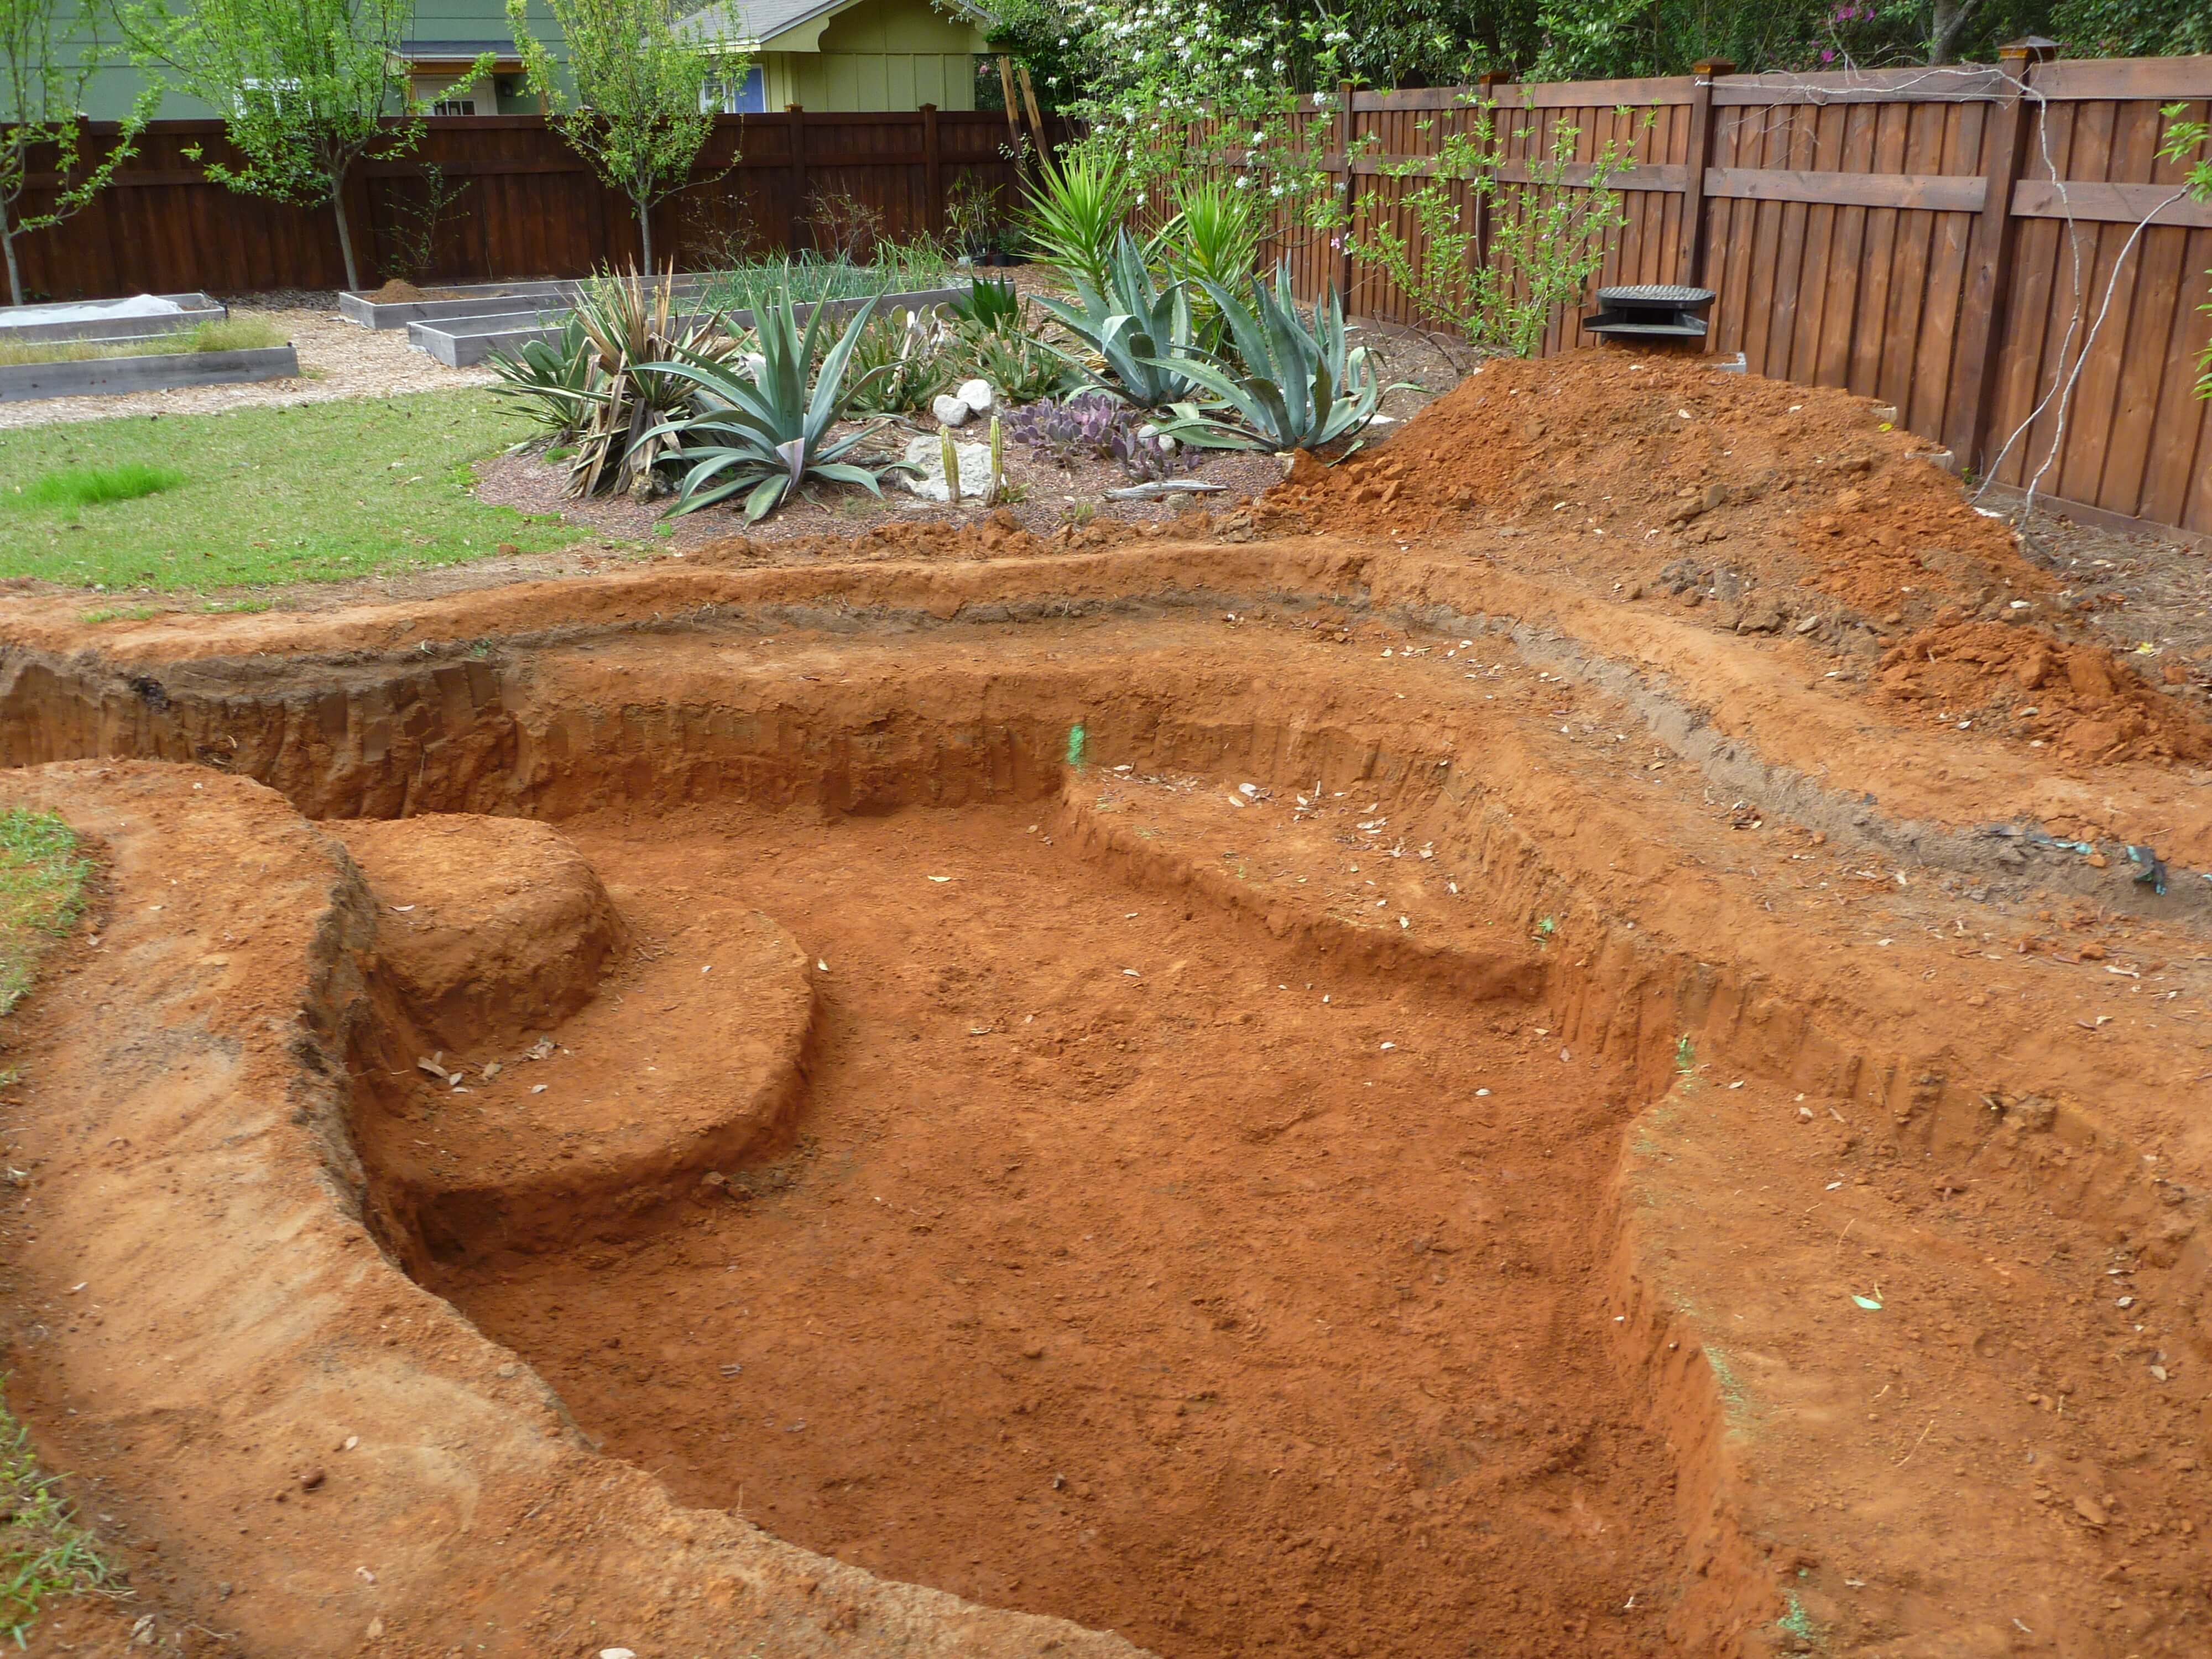
I also finished the digging in this step. I cleared out any leaves that fell in and I tried to smooth out the bottom and sides of the pond. I made sure nothing was sticking up or protruding. I cut any roots that were sticking up with pruners, the axes or the pickaxe. This will help to protect the liner further. Luckily I didn’t have any rocks to worry about. Most of my digging was in clay soil with roots and stumps. It did rain a few times before I go the liner in. When this happened I protected the sides with tarps and plastic so they wouldn’t wash away. The deepest the pond gets is about 4 feet.
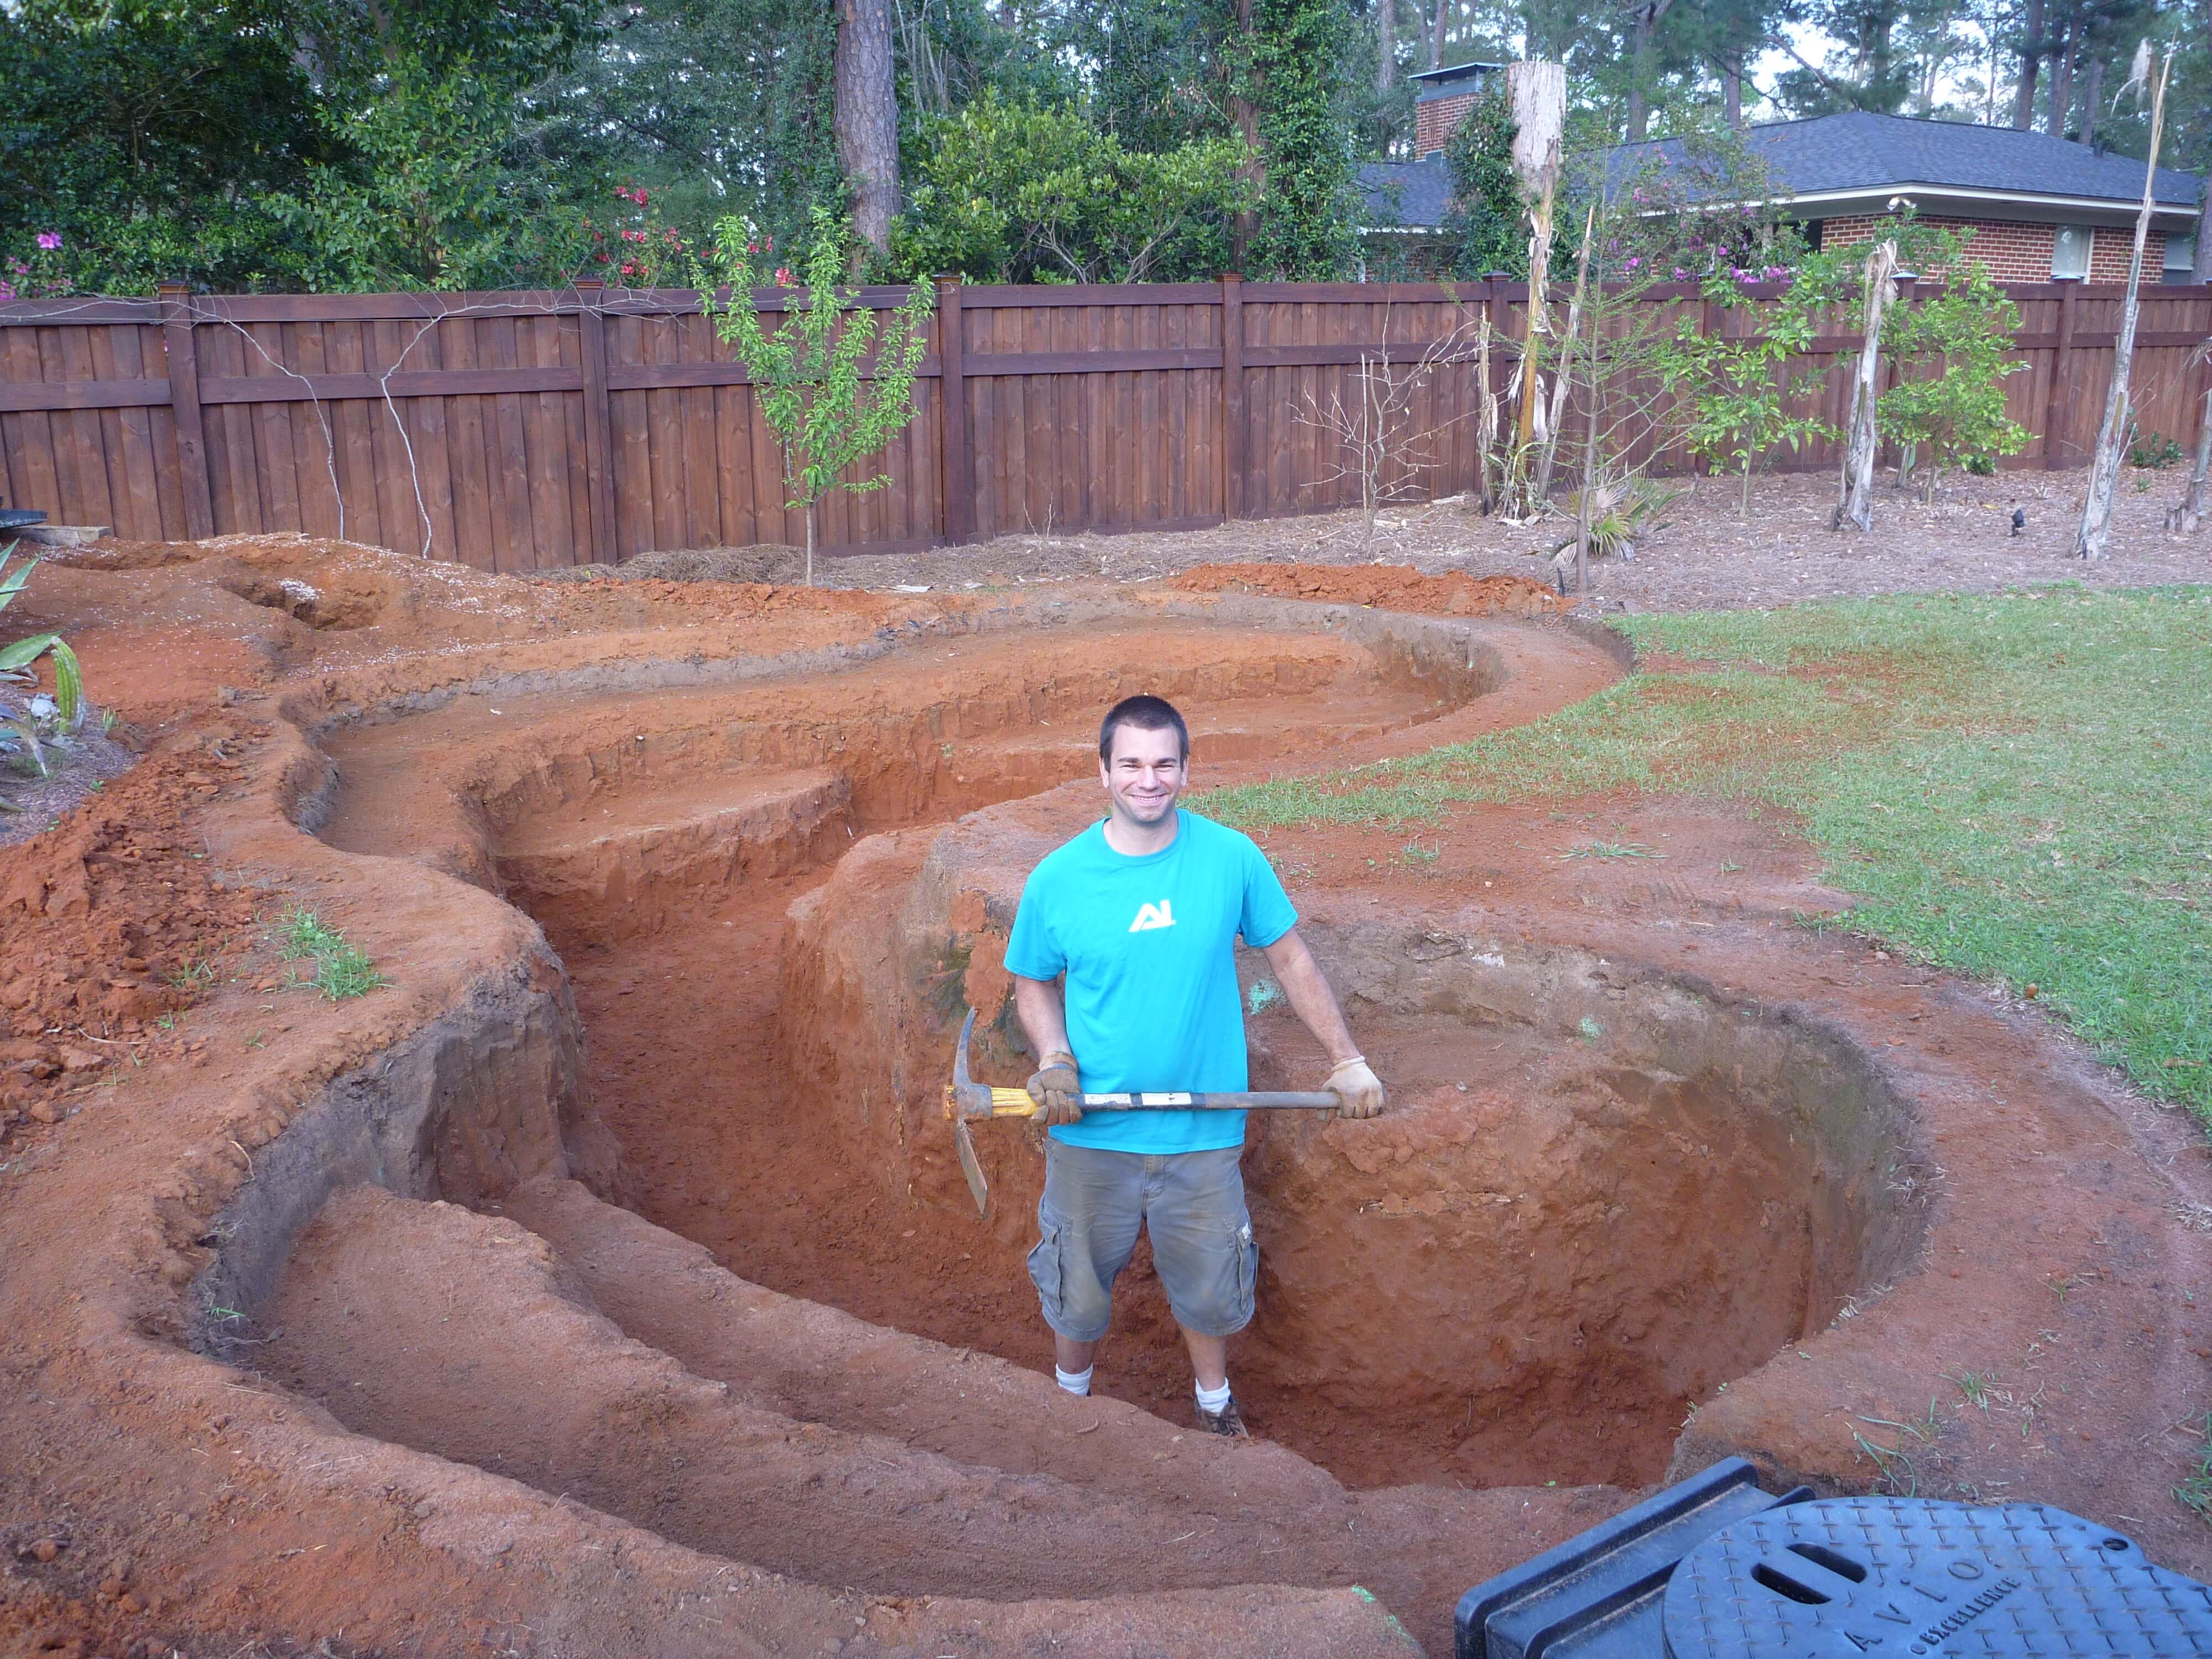
Finally to help you see the size of the pond here is a picture of me in the hole.
Next Post: Part 5 Pond Construction – Adding Under layment and Liner